Phase 01
Pre-Production
Design development, tech packs, fabric decisions, patterns, sampling and production approvals are completed before bulk cutting begins.

The clothing manufacturing process is the complete sequence used to turn a garment concept into finished apparel. It typically includes product development, tech pack preparation, fabric and trim sourcing, pattern making, sampling, size grading, marker making, fabric inspection, spreading, cutting, printing or embroidery, sewing, finishing, quality control, private labeling, packing and delivery. This step-by-step guide explains how each stage works and why the order of operations can change across T-shirts, hoodies, sportswear, denim, outerwear and other apparel categories.
Enter theThe clothing manufacturing process is the sequence of planning, engineering, material preparation, garment construction, finishing and quality-control stages used to convert a design into finished apparel at scale. In professional garment production, the process usually begins with product development and technical specifications, followed by fabric and trim sourcing, pattern making, sampling, size grading, marker planning, fabric preparation, cutting, printing or embroidery, sewing, finishing, inspection, labeling, packing and shipment.
The exact sequence is not identical for every product. A sublimated sports jersey may be printed on flat polyester panels before sewing, while a heavyweight hoodie can require fleece development, rib components, embroidery or screen printing, garment finishing and private-label packaging. Denim and outerwear can introduce additional construction or finishing operations.
In simple terms: design defines what should be made; pre-production converts that idea into repeatable specifications; production creates the garment; quality control verifies the result; finishing and logistics prepare it for the customer.
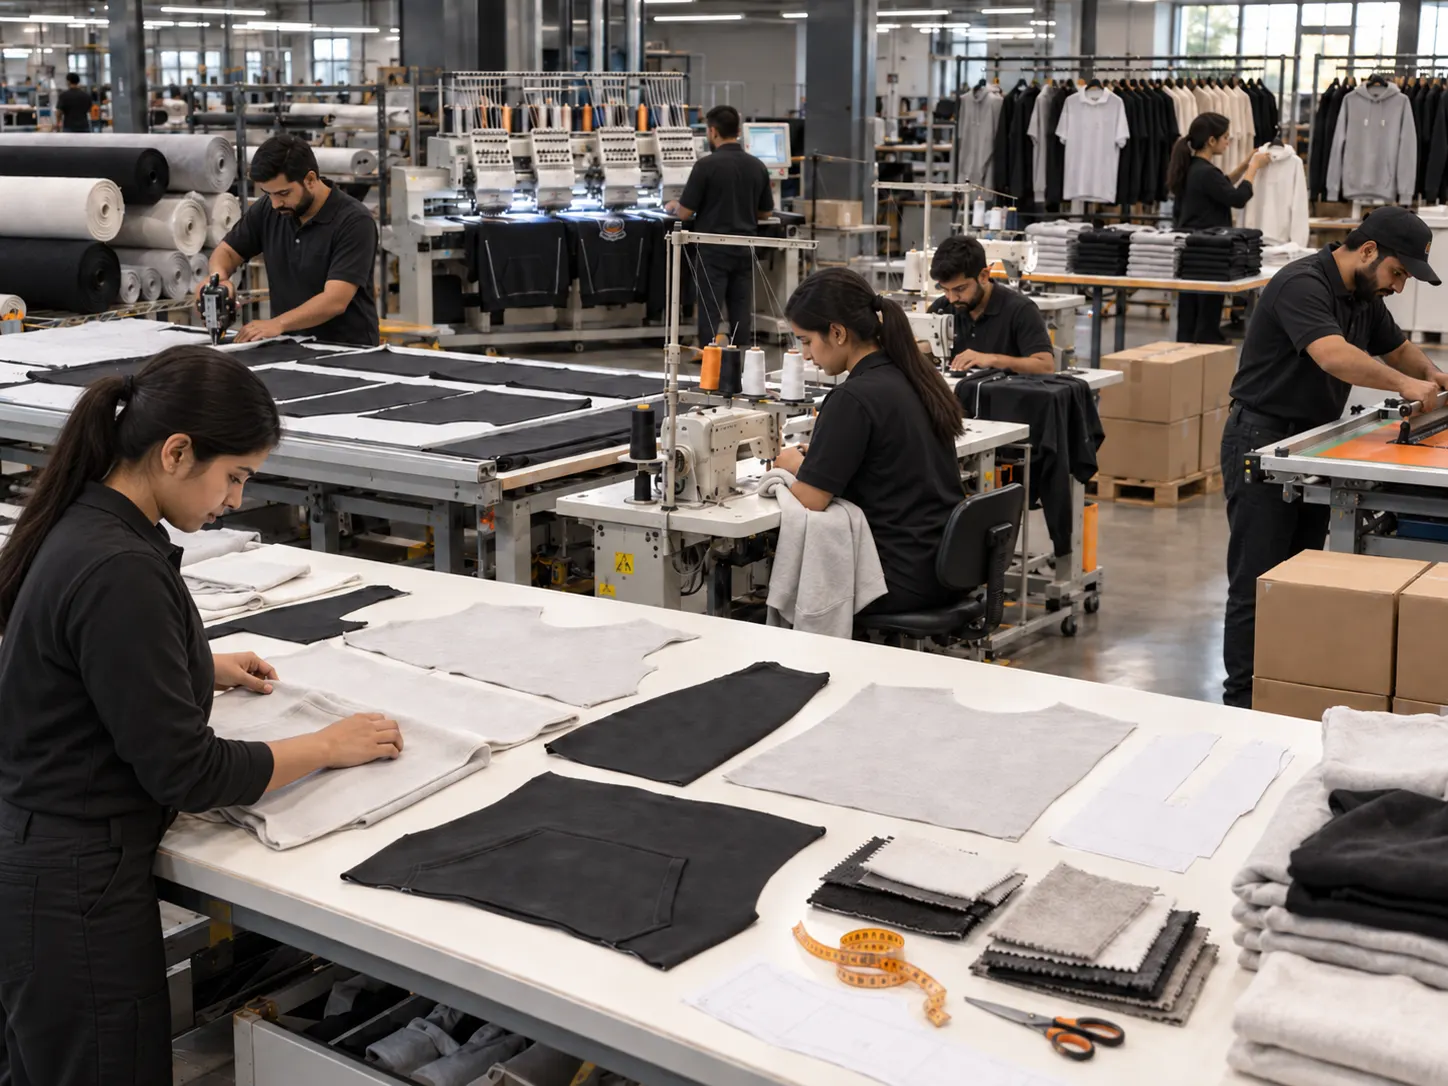
Most garment factories divide production into four broad phases: pre-production, material preparation, garment assembly and final quality/logistics. Understanding these phases makes the full clothing production process easier to follow.
Design development, tech packs, fabric decisions, patterns, sampling and production approvals are completed before bulk cutting begins.
Fabric is inspected, relaxed, spread and prepared with markers so components can be cut accurately and consistently.
Cut panels move through printing, embroidery, sewing, assembly and product-specific finishing operations.
Finished garments are measured, inspected, labeled, packed, organised into cartons and prepared for shipment.
This flow shows a comprehensive apparel production route. Individual garments may combine, reorder or skip certain operations depending on fabric, construction and decoration.
Clothing production starts by defining what the garment needs to be. Designers and product developers establish the silhouette, intended fit, materials, colours, construction details, trims, artwork, branding and functional requirements.
The starting information can include sketches, reference garments, digital artwork, mood boards, measurement ideas or a complete technical specification. The goal at this stage is to convert the creative concept into decisions that can later be measured and repeated in production.
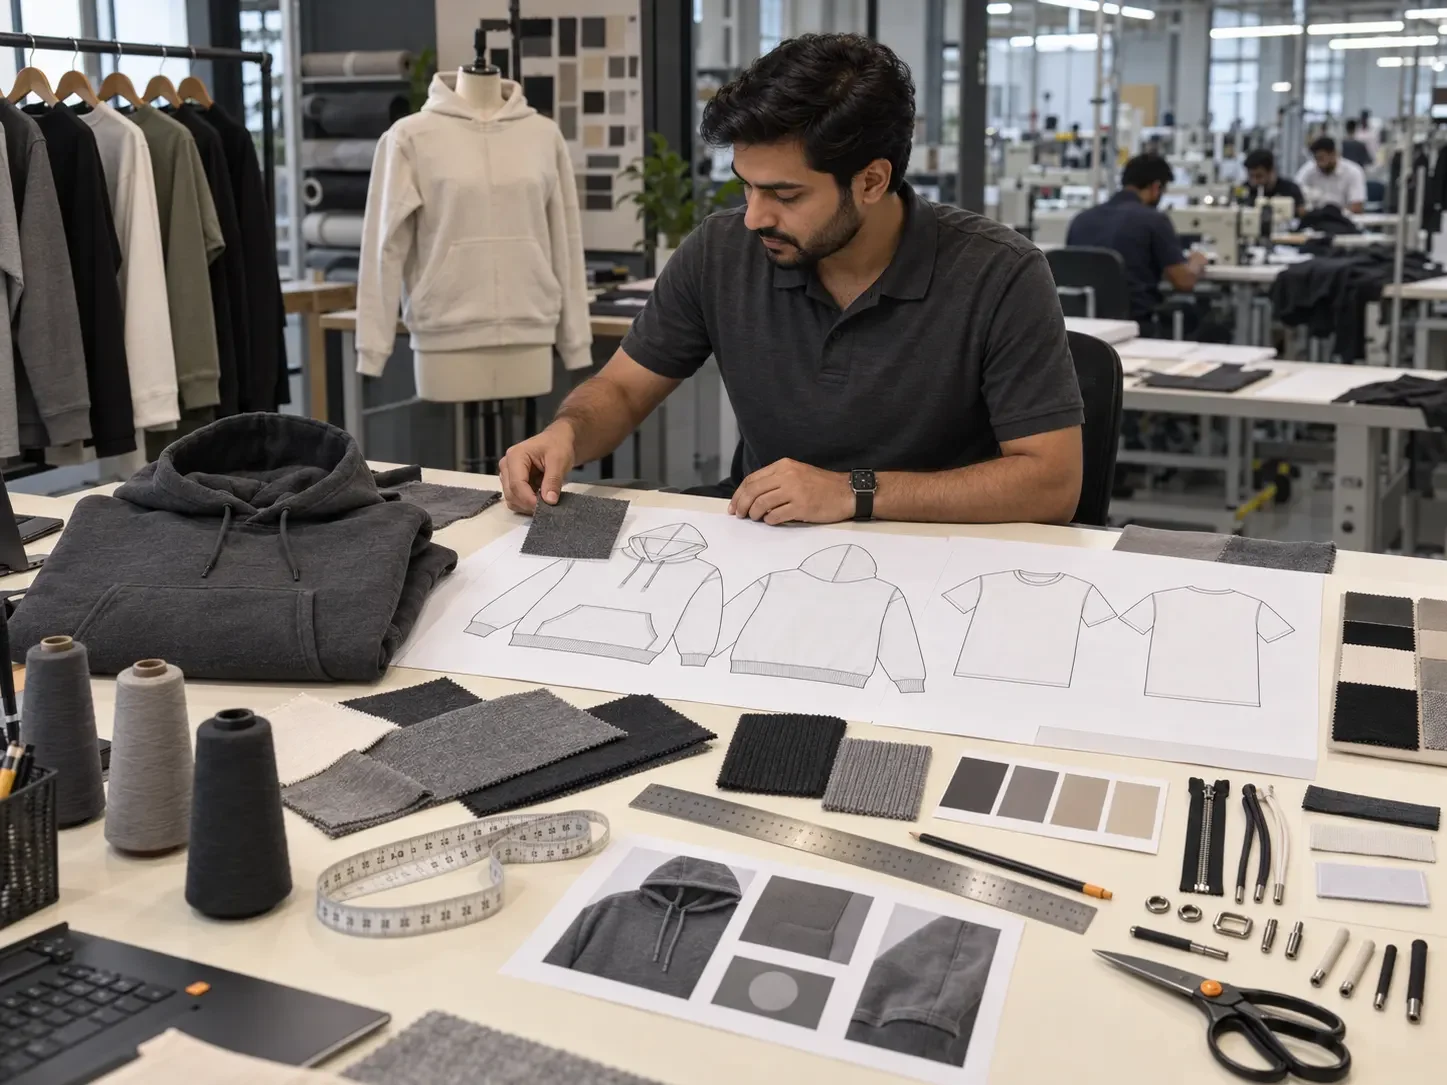
A tech pack acts as a technical reference for the garment. It can communicate measurements, materials, stitching, colours, artwork dimensions, labels, trims, construction and other production requirements.
Clear specifications reduce the amount of interpretation required during sampling and bulk production. They also provide a reference for reviewing whether the sample and finished garments match the intended product.
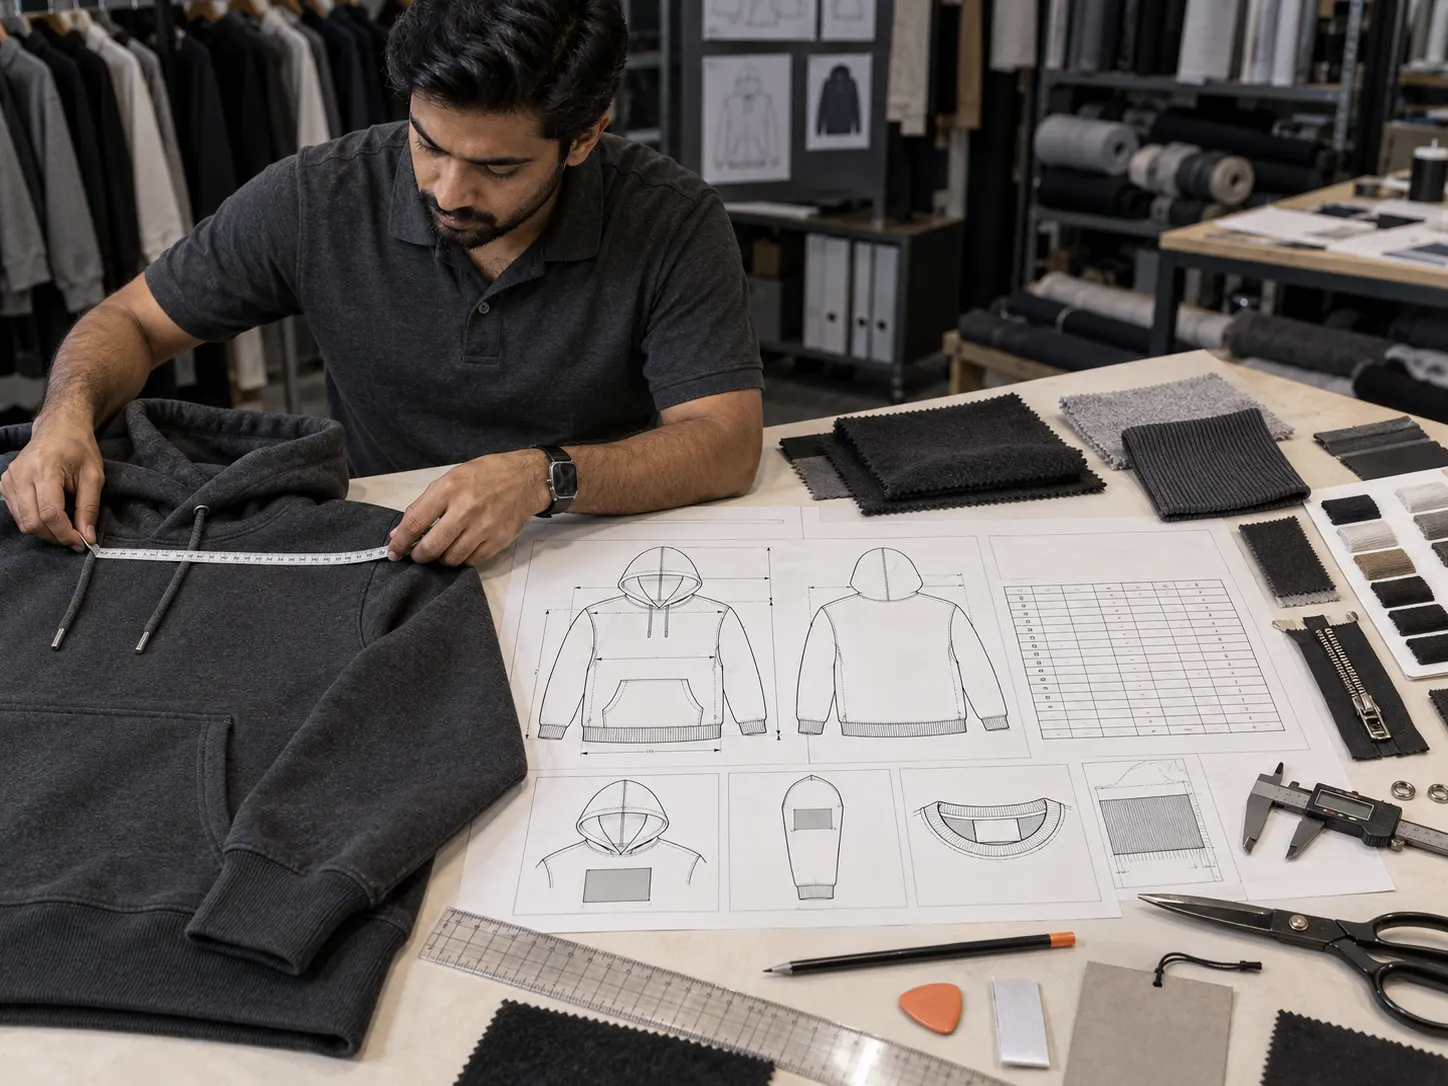
Fabric is one of the most important inputs in apparel manufacturing because it affects weight, drape, stretch, hand feel, breathability, durability and how the finished garment behaves.
Material selection can include fibre composition, knit or weave structure, GSM or fabric weight, colour, stretch, finish and compatibility with printing, embroidery or washing processes. Garment trims such as rib, elastic, zippers, buttons, drawcords and thread also need to match the construction requirements.
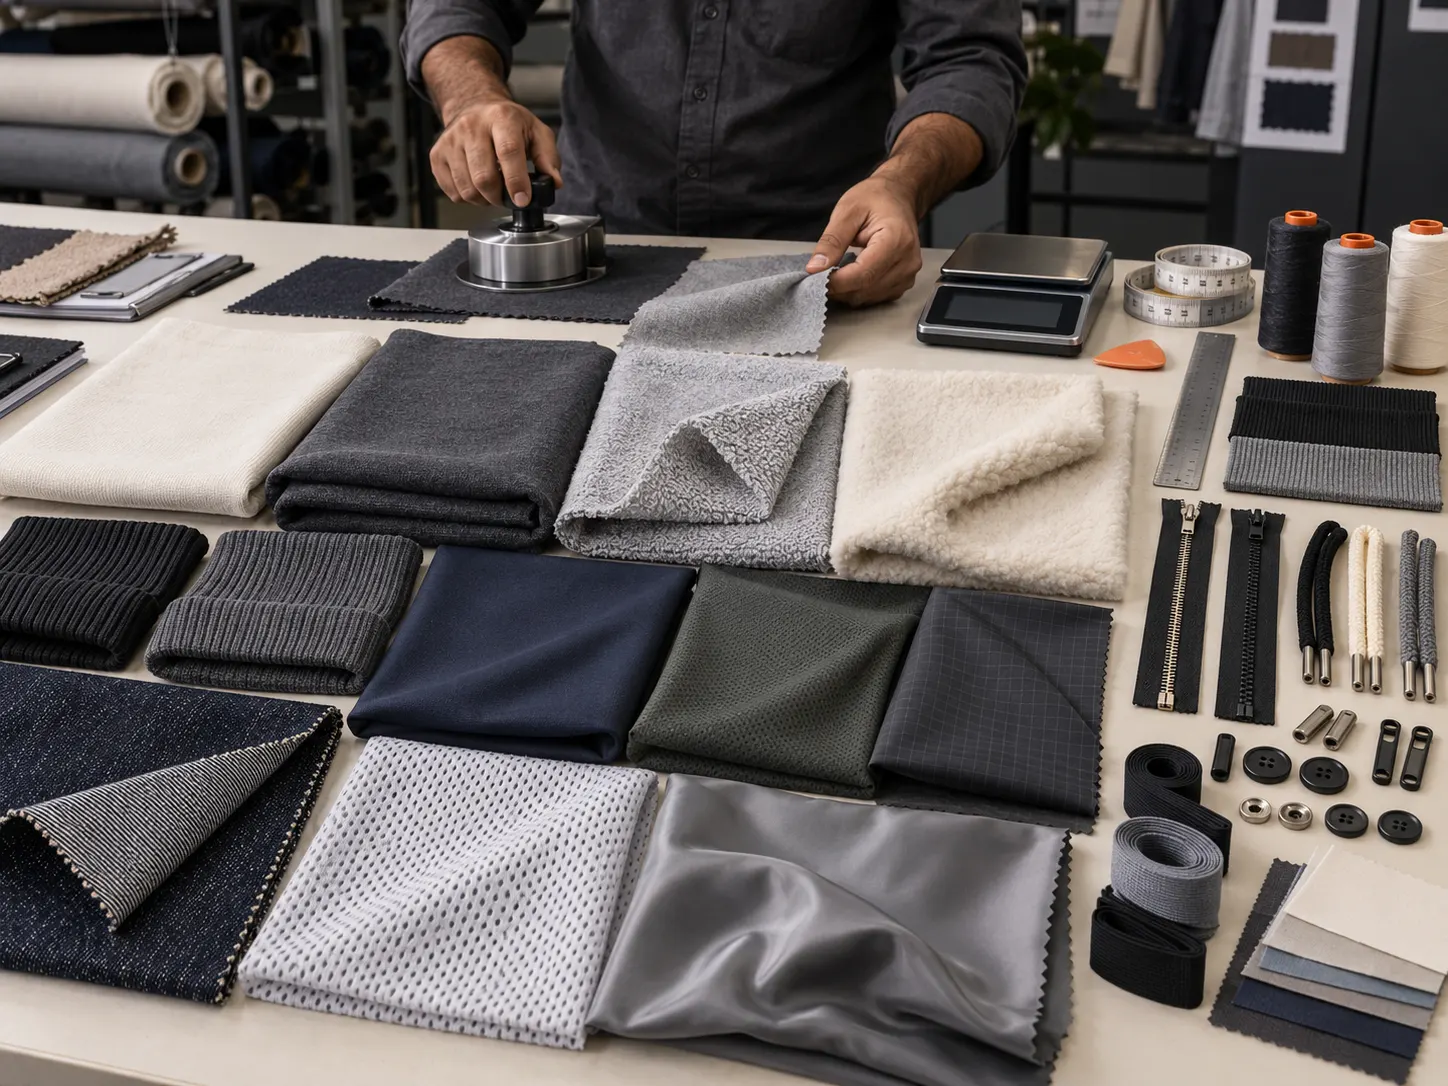
Pattern making converts garment measurements and design details into the individual shapes that will eventually be cut from fabric. Pattern accuracy influences garment balance, fit, seam alignment, pocket positioning and how separate panels join together during sewing.
The base pattern is developed around the intended silhouette and construction. Seam allowances, notches and component relationships are defined so that the garment can be assembled consistently.
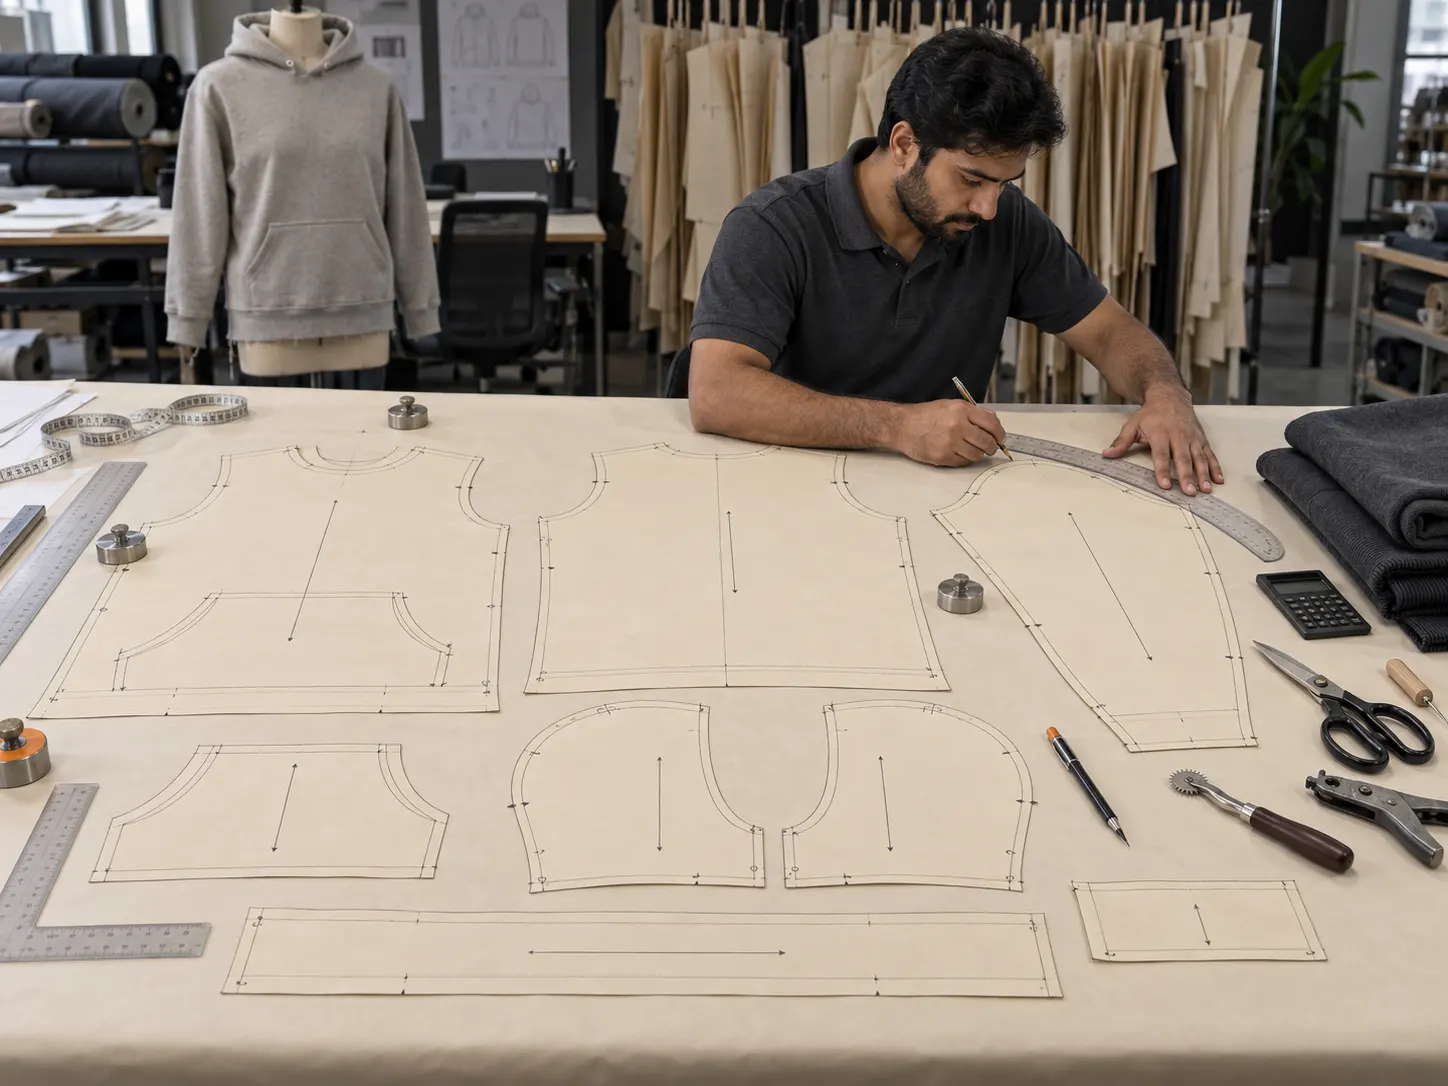
A garment sample turns the technical specification into a physical product that can be evaluated before approved bulk production.
Sampling allows the buyer and manufacturer to review fit, measurements, fabric, construction, artwork size and placement, labels, trims and overall workmanship. Revisions can then be defined using measurable instructions rather than relying only on descriptions.
Depending on the project, a revised sample or pre-production confirmation may be needed before bulk production begins.
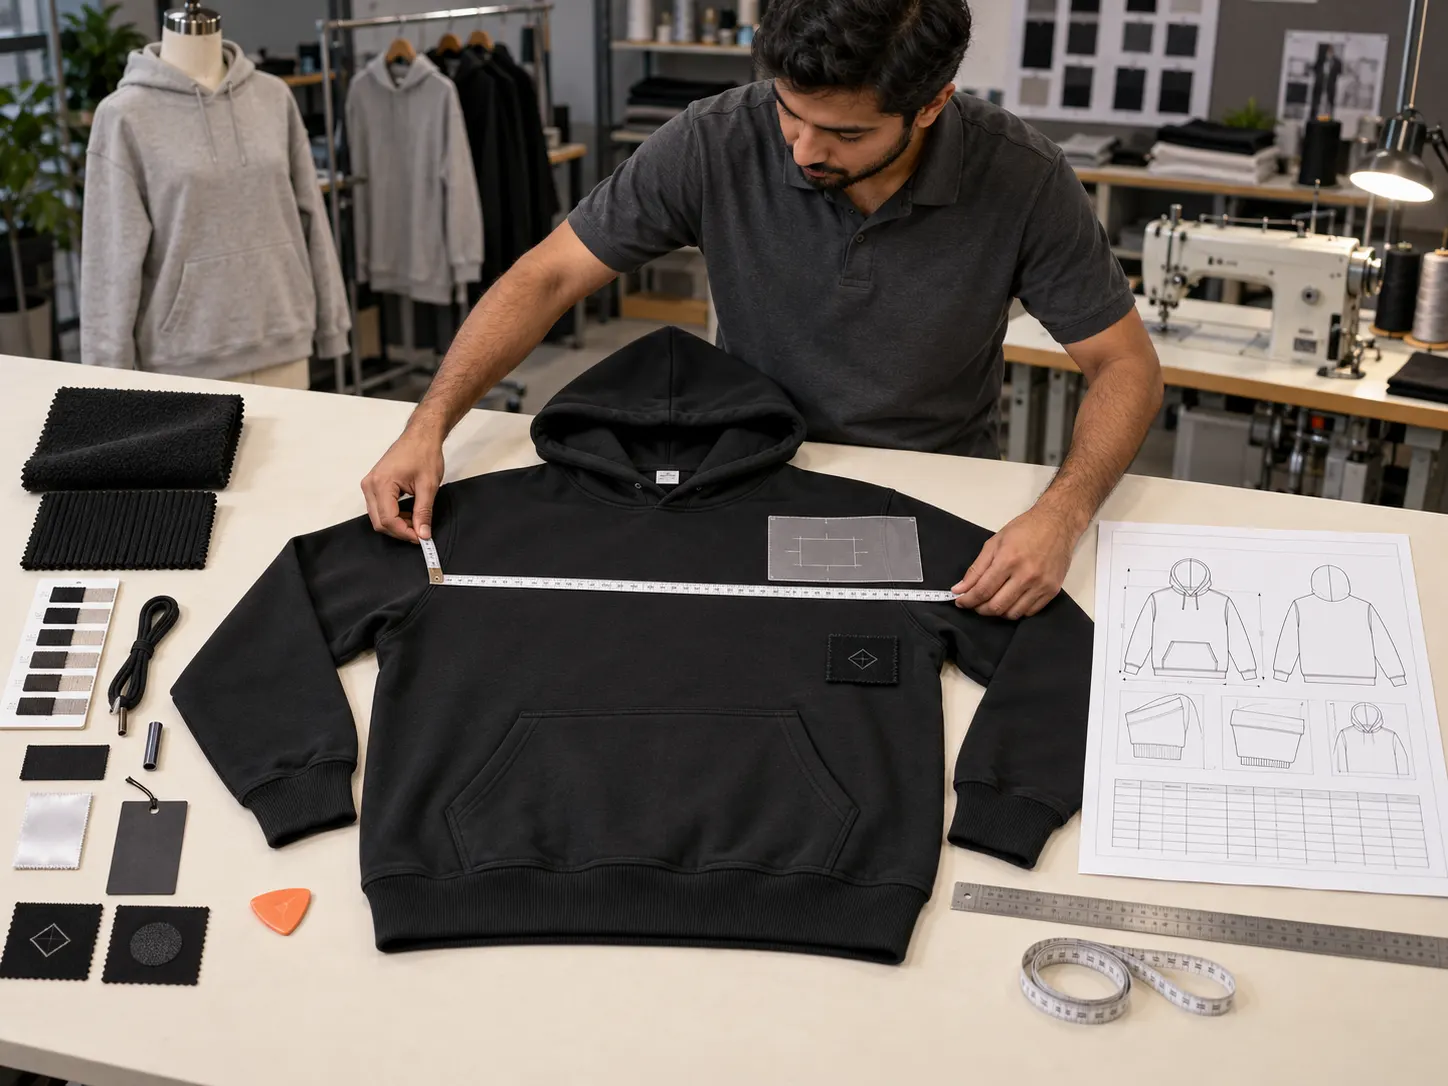
Once the approved base pattern is established, size grading creates the additional sizes required for production. Grading changes pattern dimensions according to defined rules while maintaining the intended proportions of the garment.
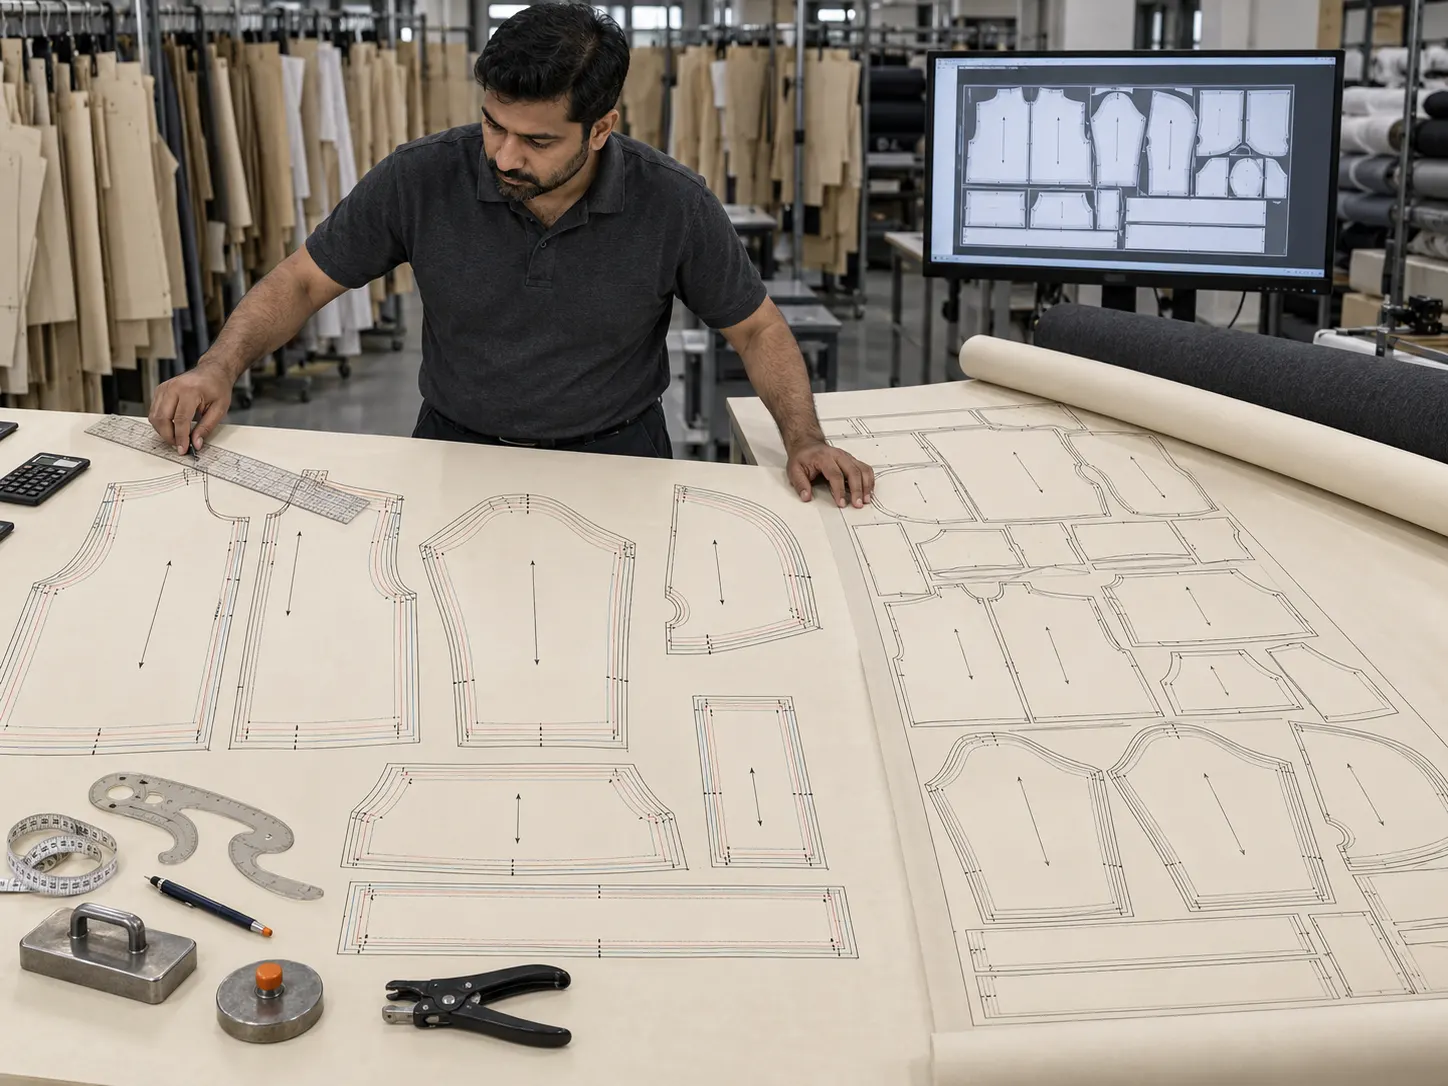
Marker making then arranges pattern pieces across the usable fabric width. A well-planned marker helps control fabric consumption while respecting grain direction, panel orientation and other material requirements.
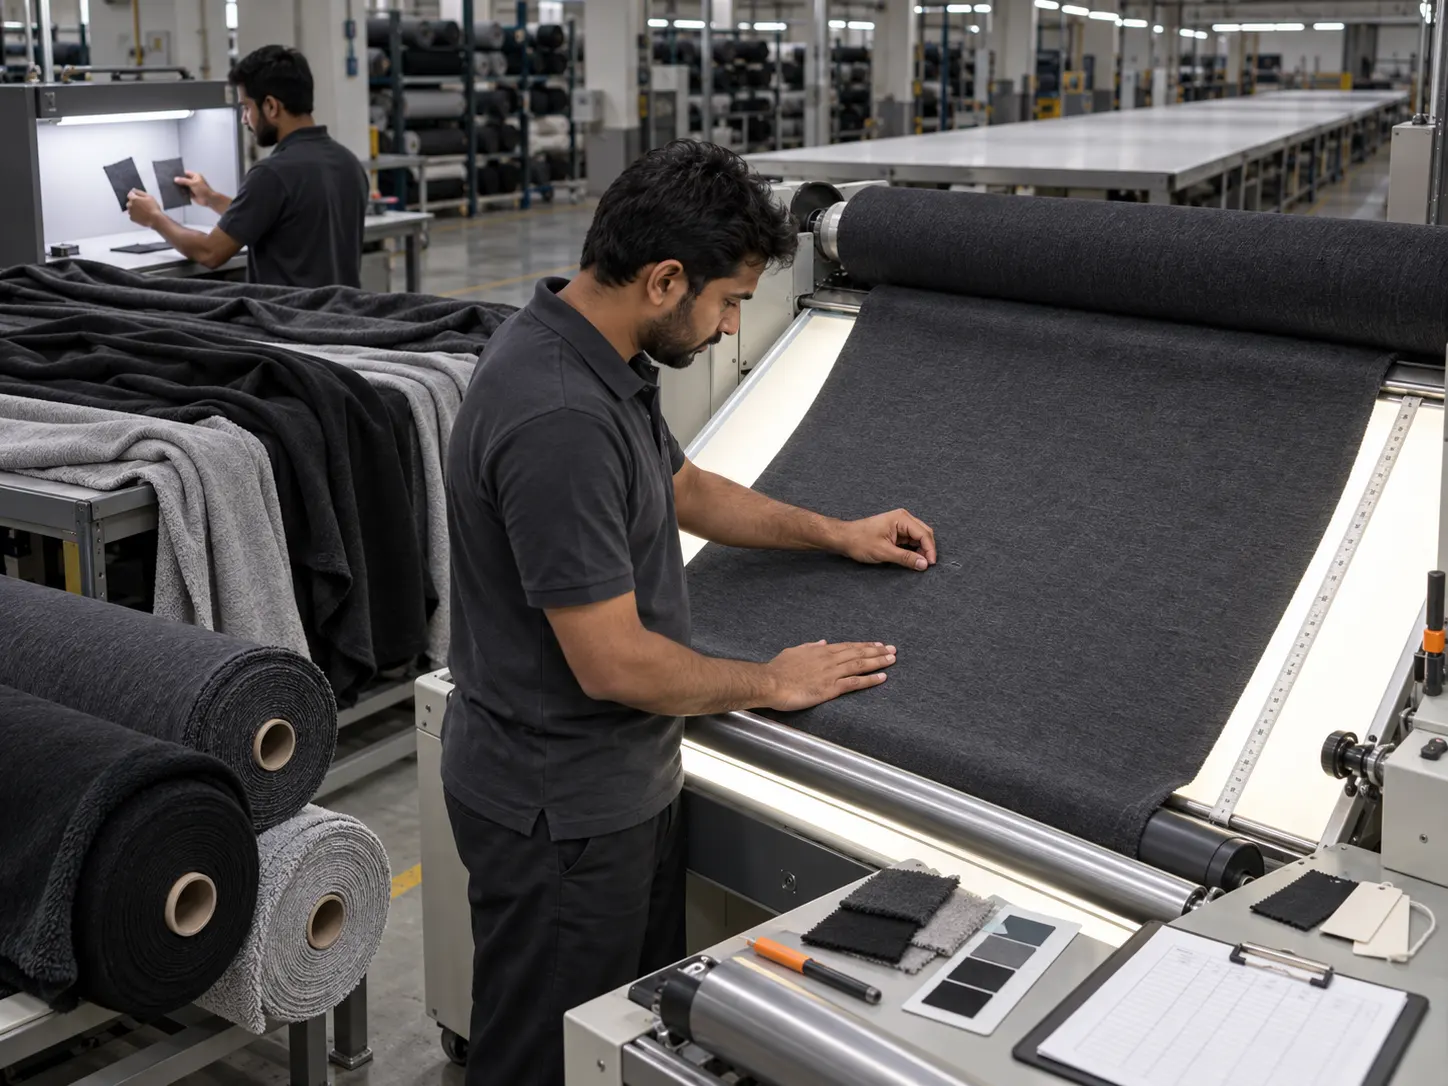
Before cutting, fabric can be checked for visible defects, shade consistency and alignment with the approved material specification.
Knitted and stretch fabrics may also require relaxation after storage or transport. Allowing the material to relax helps reduce tension before spreading and cutting, which can improve dimensional consistency during later operations.
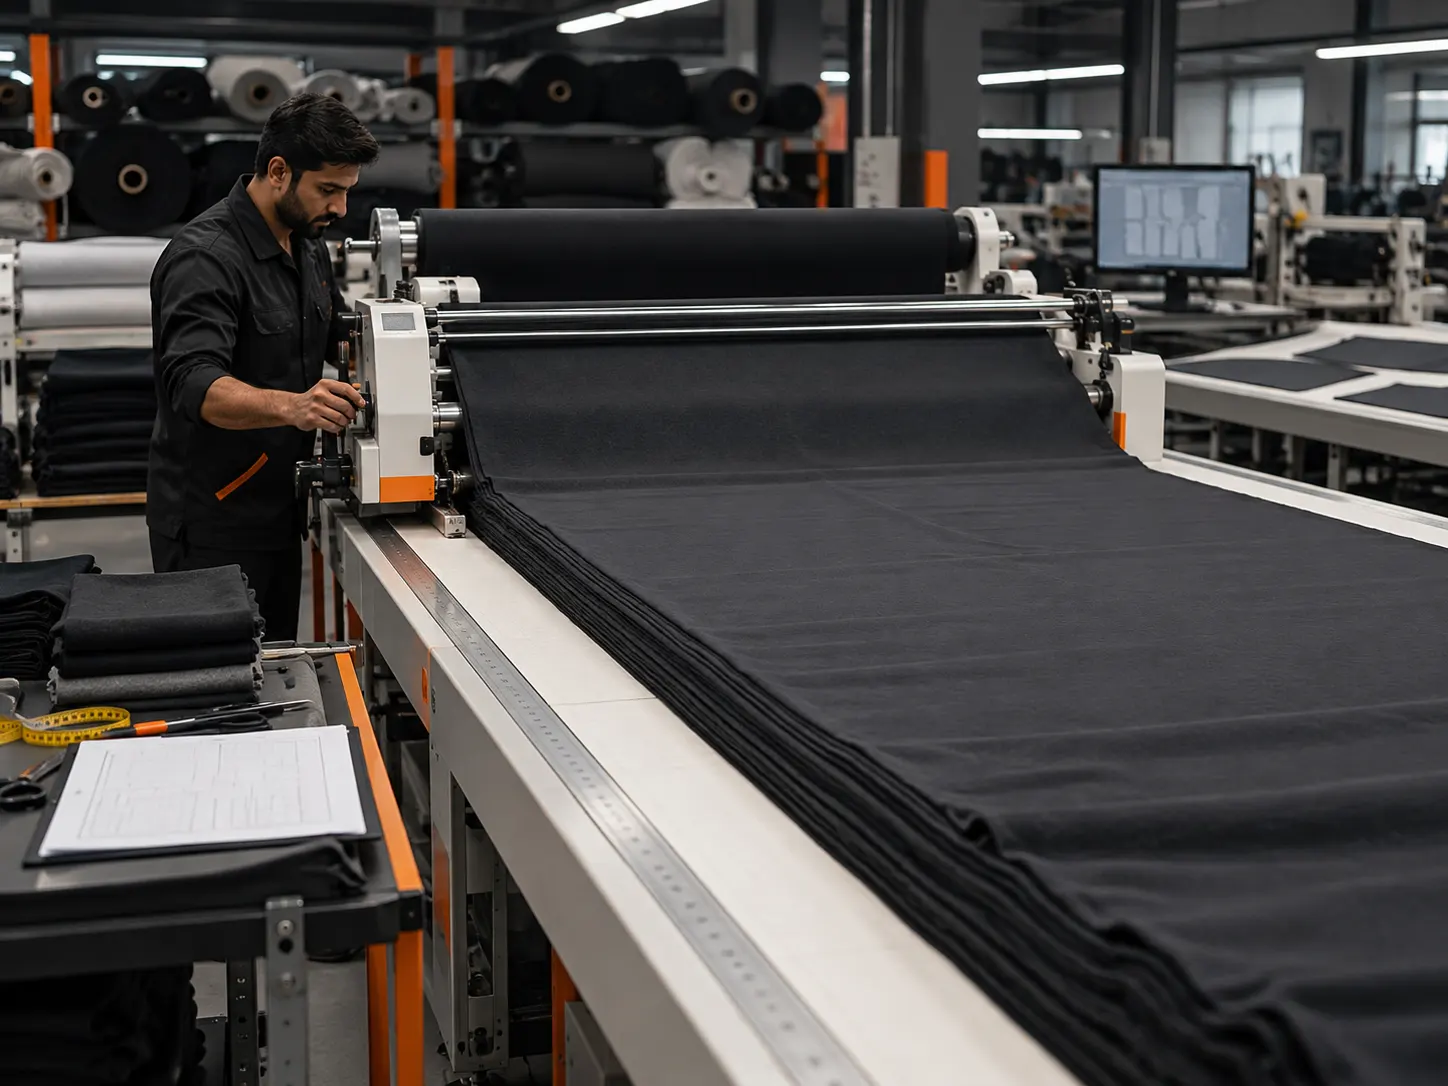
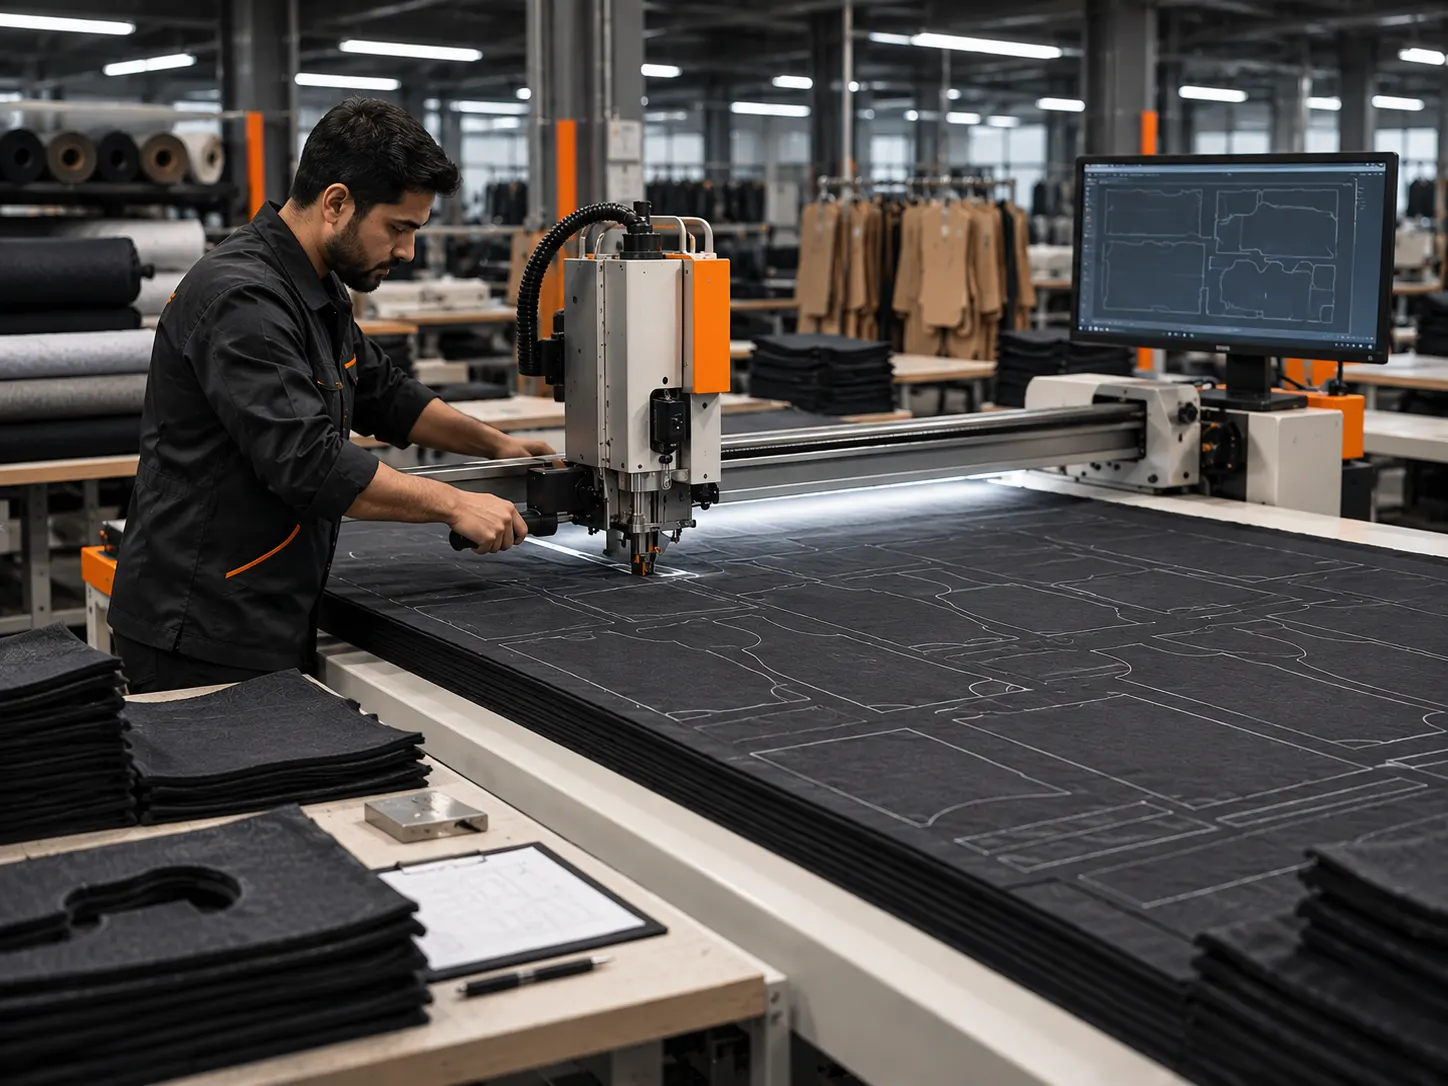
Fabric spreading prepares controlled layers of material for cutting. The fabric is laid across a long cutting table in accordance with the marker length and production requirement.
The spreading method needs to consider fabric direction, tension, layer alignment and material behaviour. Poor spreading can distort the material or create inconsistency between cut panels.
The approved marker guides the cutting stage. Fabric layers are cut into the individual panels and components required for each garment.
Accurate cutting is important because errors in panel shape, notches or alignment can affect sewing and final measurements. Cut components are therefore counted, identified and organised by size, colour or production lot before moving to the next operation.
Some panels go directly to decoration while they are still flat; others move toward garment assembly.
Garment decoration can be applied before or after sewing depending on the process, artwork location and product construction. Flat panels often provide easier access for large embroidery, screen prints or sublimation artwork.
The decoration method is selected according to the material, artwork, colour requirements, dimensions, desired surface effect and production needs.
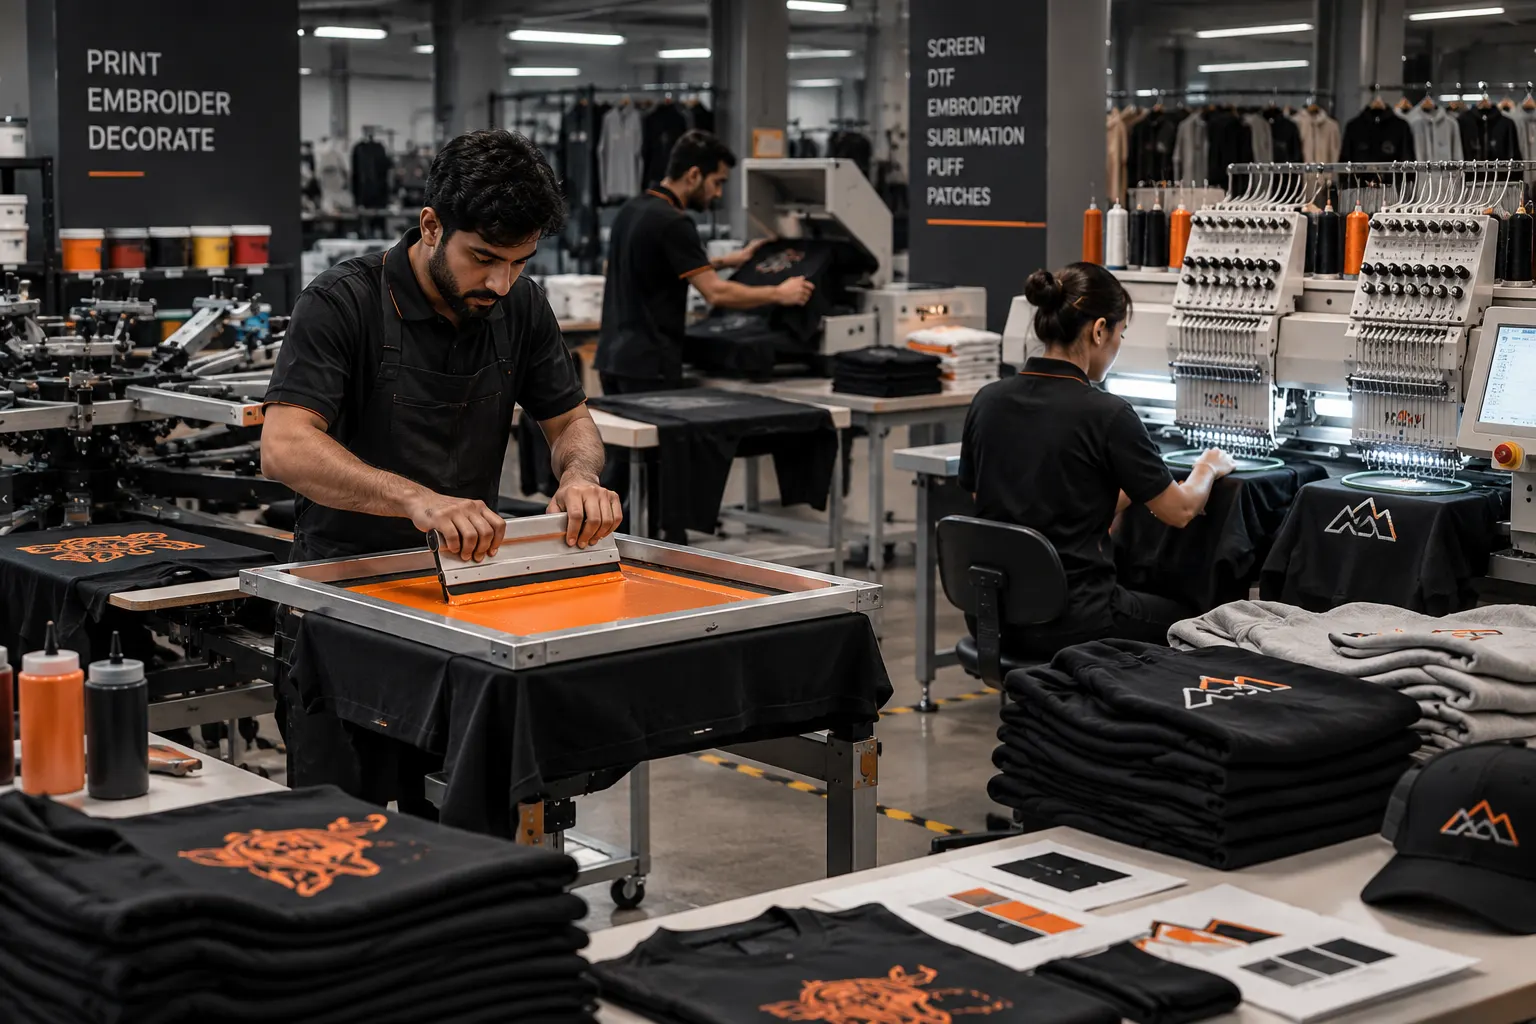
Widely used for graphic apparel and production print runs.
Supports detailed and multi-colour artwork on compatible garments.
Transfers colour into compatible polyester fabric and can support all-over panel artwork.
Creates raised dimensional print effects commonly used in streetwear.
Thread-based decoration for logos and detailed garment branding.
Creates raised embroidery where artwork and dimensions are suitable.
Useful for varsity, collegiate and dimensional decoration.
Can include woven, embroidered, silicone, rubber and selected specialty options.
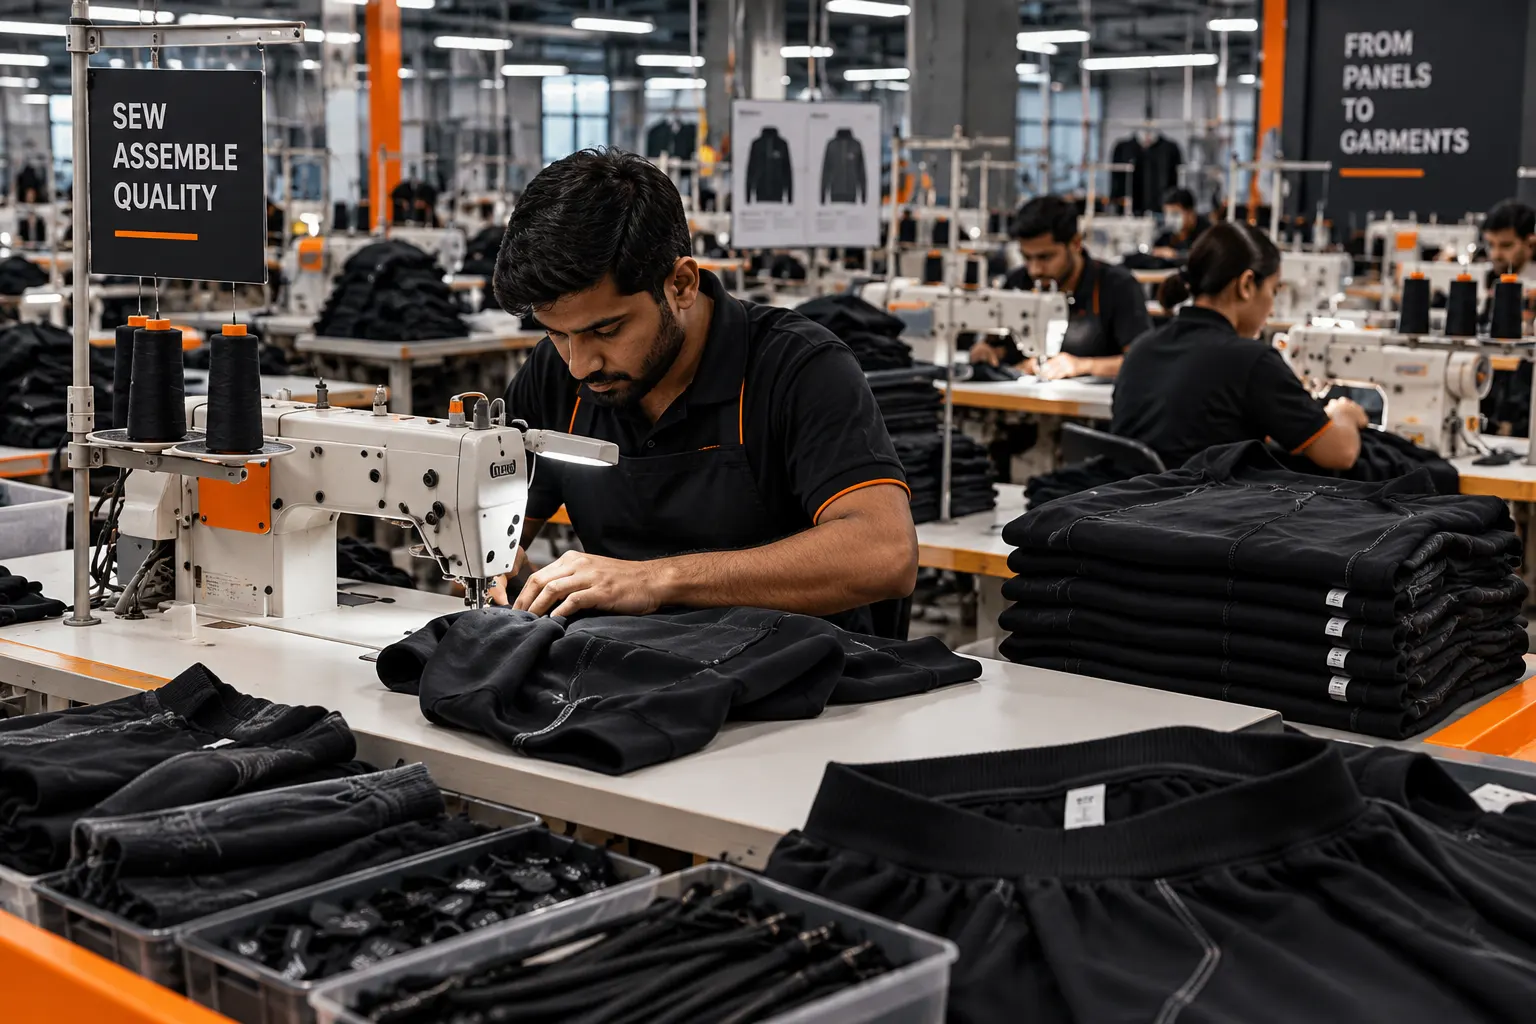
Cut and decorated components move through an operation sequence where separate fabric panels are joined into a complete garment.
Different products require different industrial machines and stitch types. Lockstitch, overlock, coverstitch and bartack operations are commonly used across apparel manufacturing, while specific garments may require additional machinery or specialised construction methods.
During assembly, operators also align seams, attach pockets, cuffs, waistbands, ribs, collars, hoods, zippers, labels and reinforcement points according to the production specification.
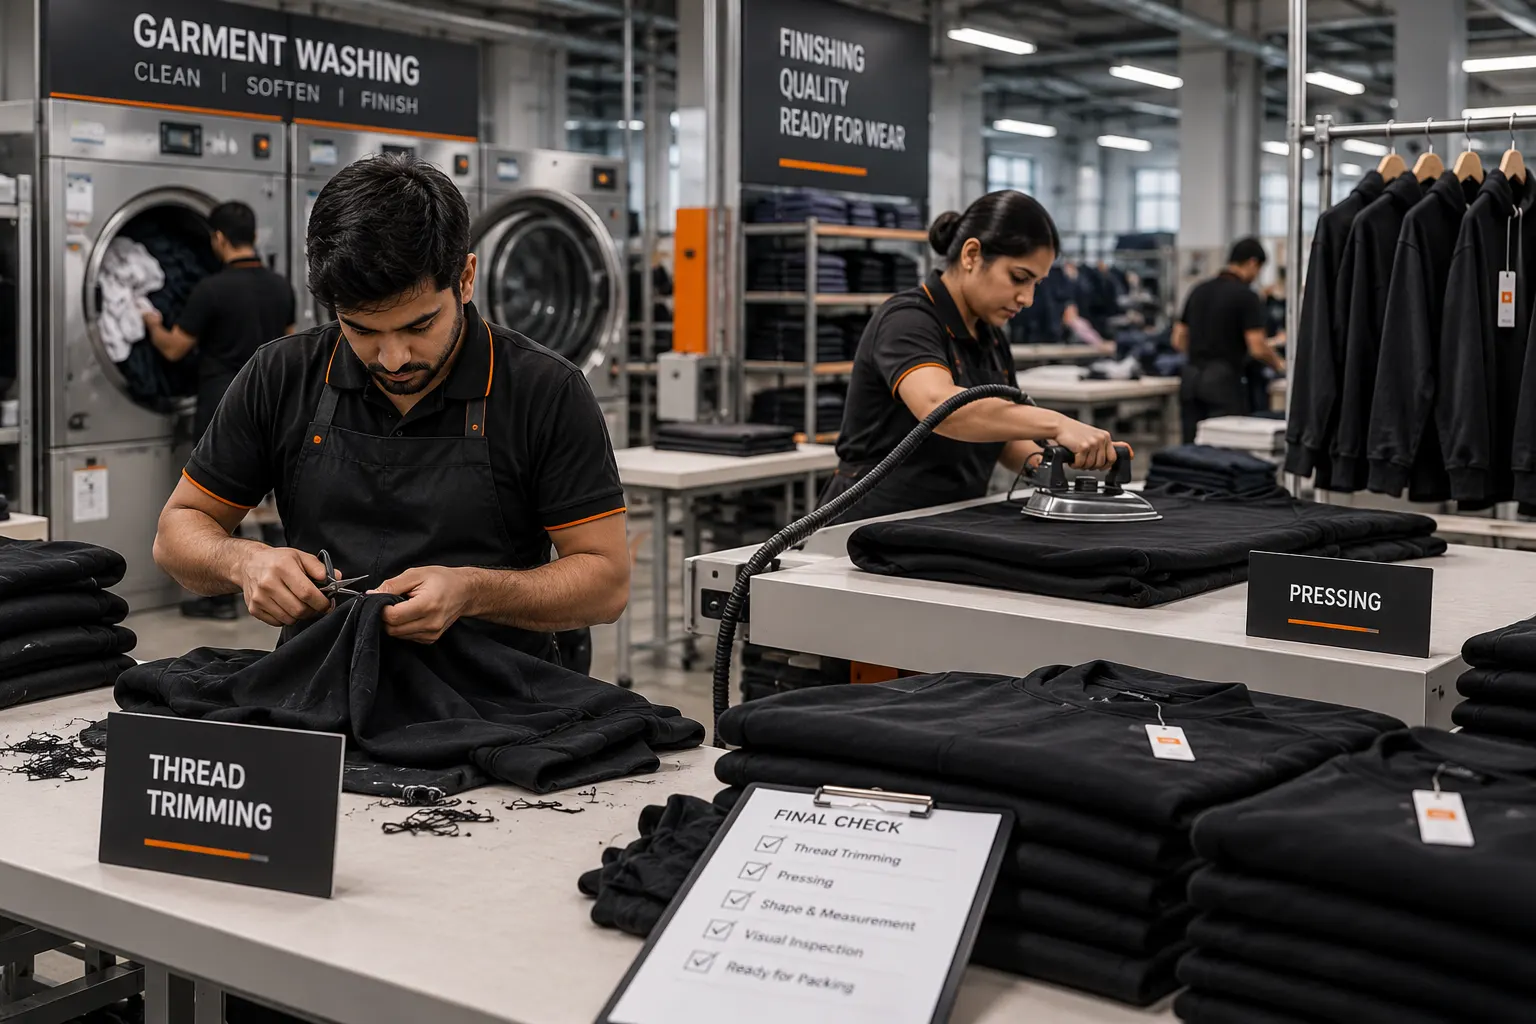
After sewing, garments are prepared for their intended final appearance. Basic finishing can include thread trimming, shape preparation and pressing.
Some products require additional treatments such as garment washing, vintage effects, softening, controlled dye treatments or other finish-specific processes. Denim in particular can use washing and abrasion processes to create an approved visual effect.
The finishing method must remain compatible with the fabric, construction and decoration already applied to the garment.
Quality control can take place at several points during manufacturing instead of being limited to a single final check. Fabric, cutting, decoration, sewing and finishing can each create different types of production issues.
Finished garments can be compared with approved specifications for measurements, seam workmanship, artwork placement, embroidery, labels, trims, colour appearance, finishing and packing readiness.
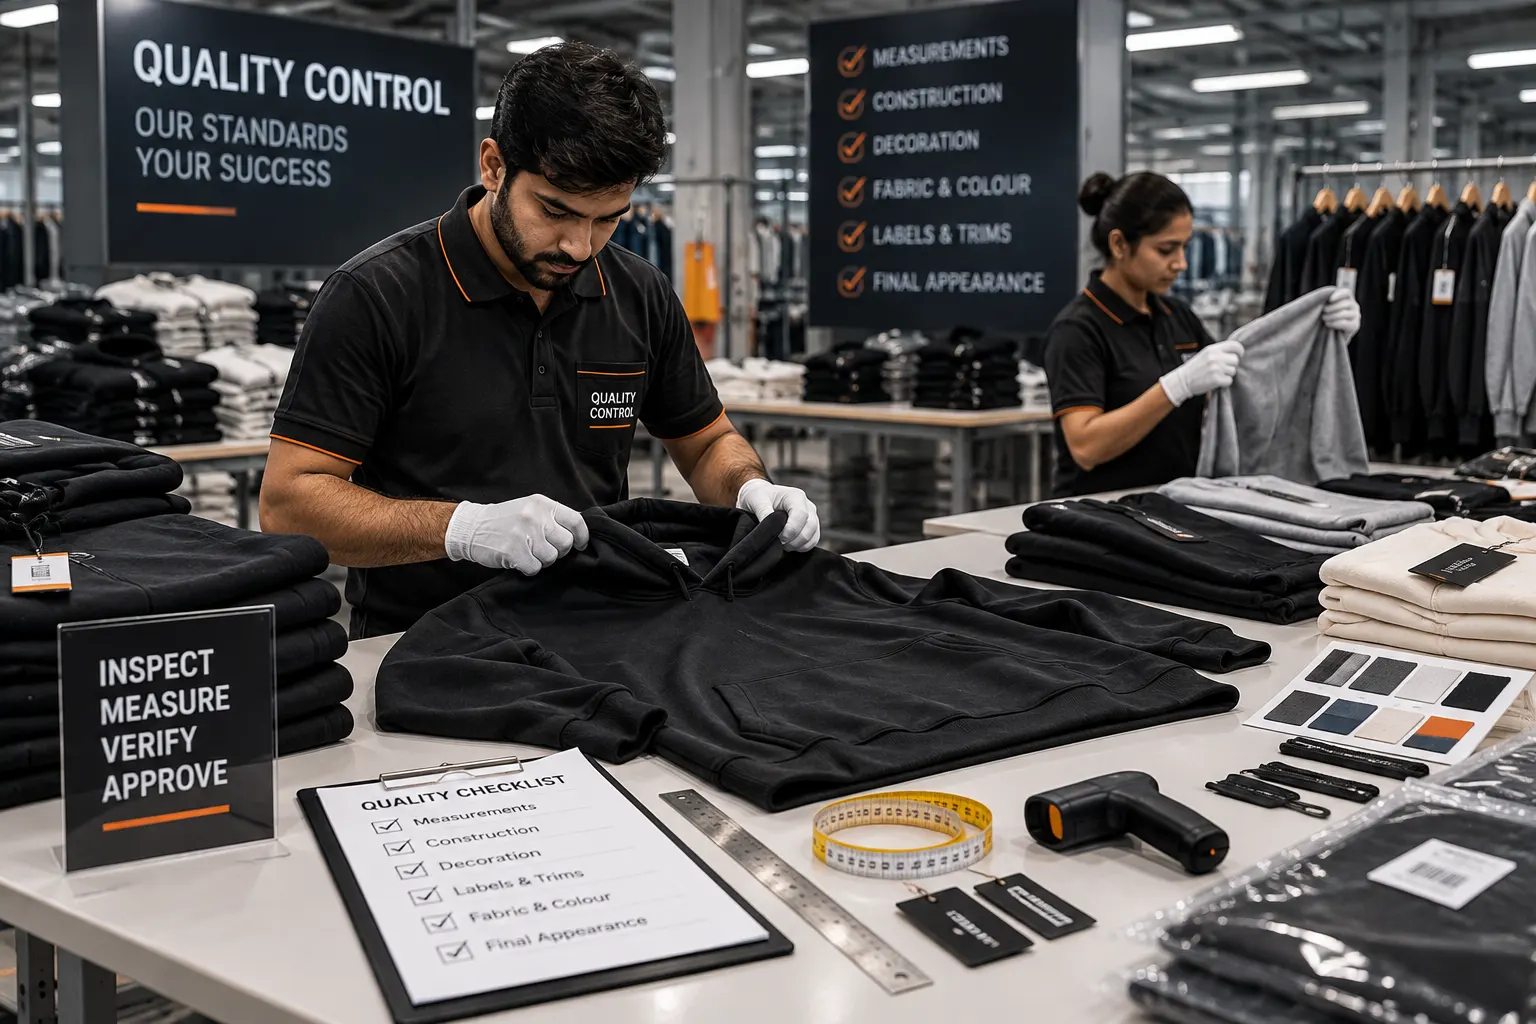
Key dimensions are checked against the approved size specification and tolerances.
Seams, alignment, reinforcement and general workmanship are reviewed.
Print, embroidery, patches and artwork placement are visually checked.
Visible material issues and colour consistency are reviewed where applicable.
Required labels, zippers, cords, buttons and other components are verified.
Garments are checked after finishing before packing.
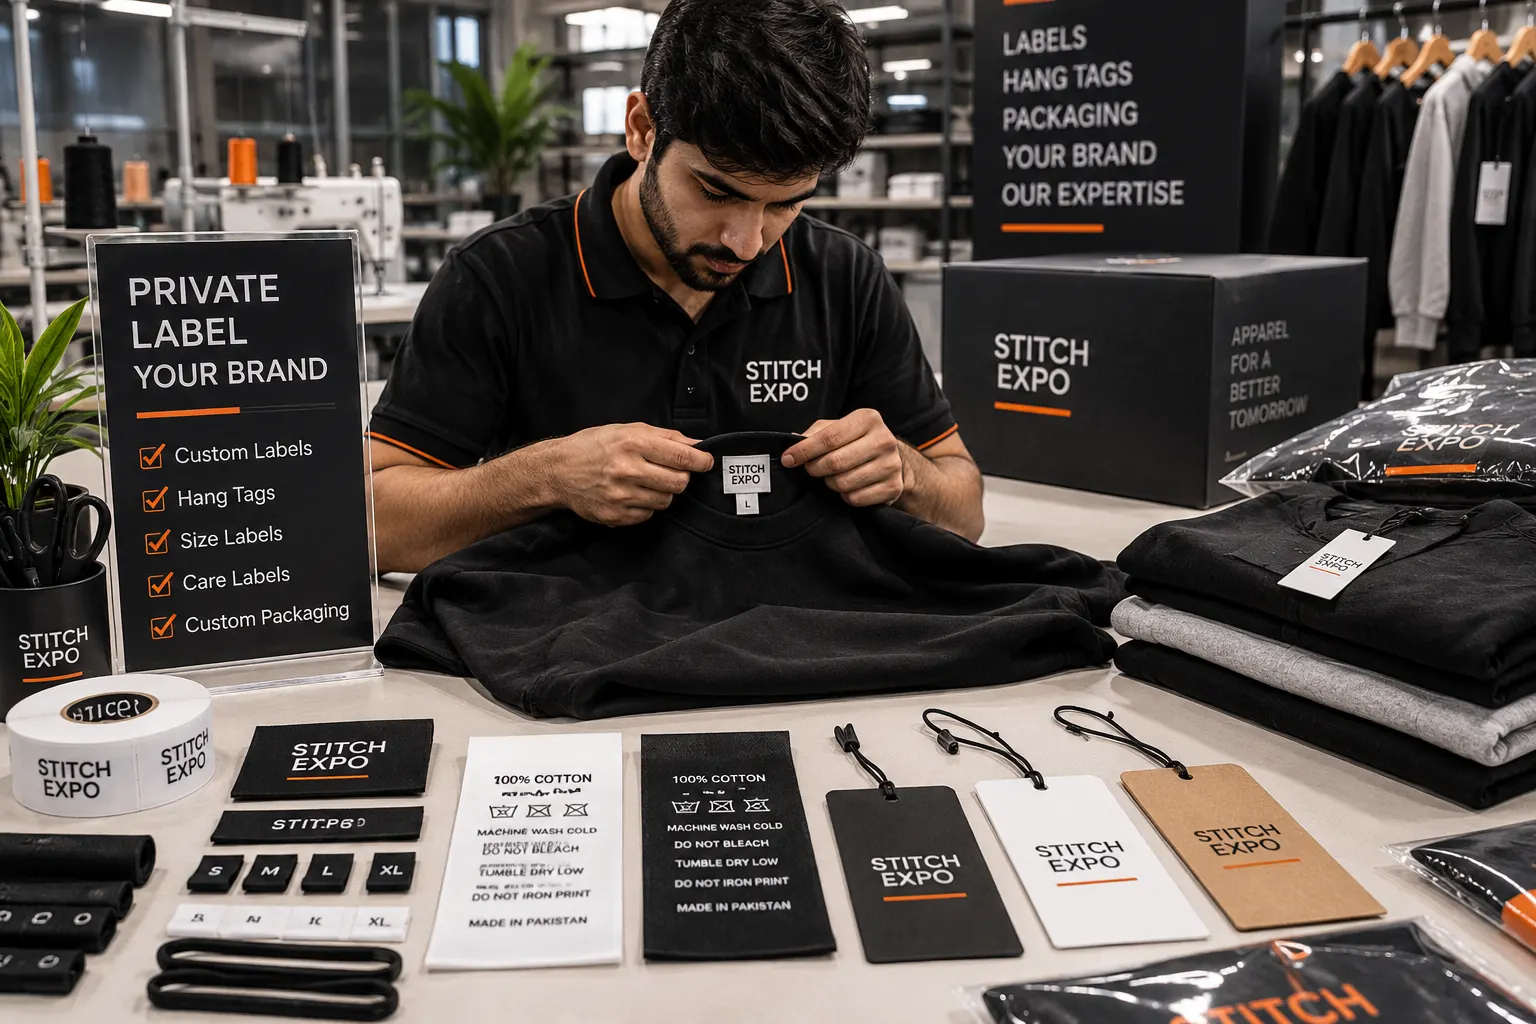
Private-label apparel is prepared around the customer's own brand identity. Some branding elements are sewn into the garment during assembly, while others are added during finishing or packing.
Common options include woven neck labels, satin labels, printed neck labels, size labels, care labels, hang tags, patches, zipper pulls, drawcord components and selected custom packaging.
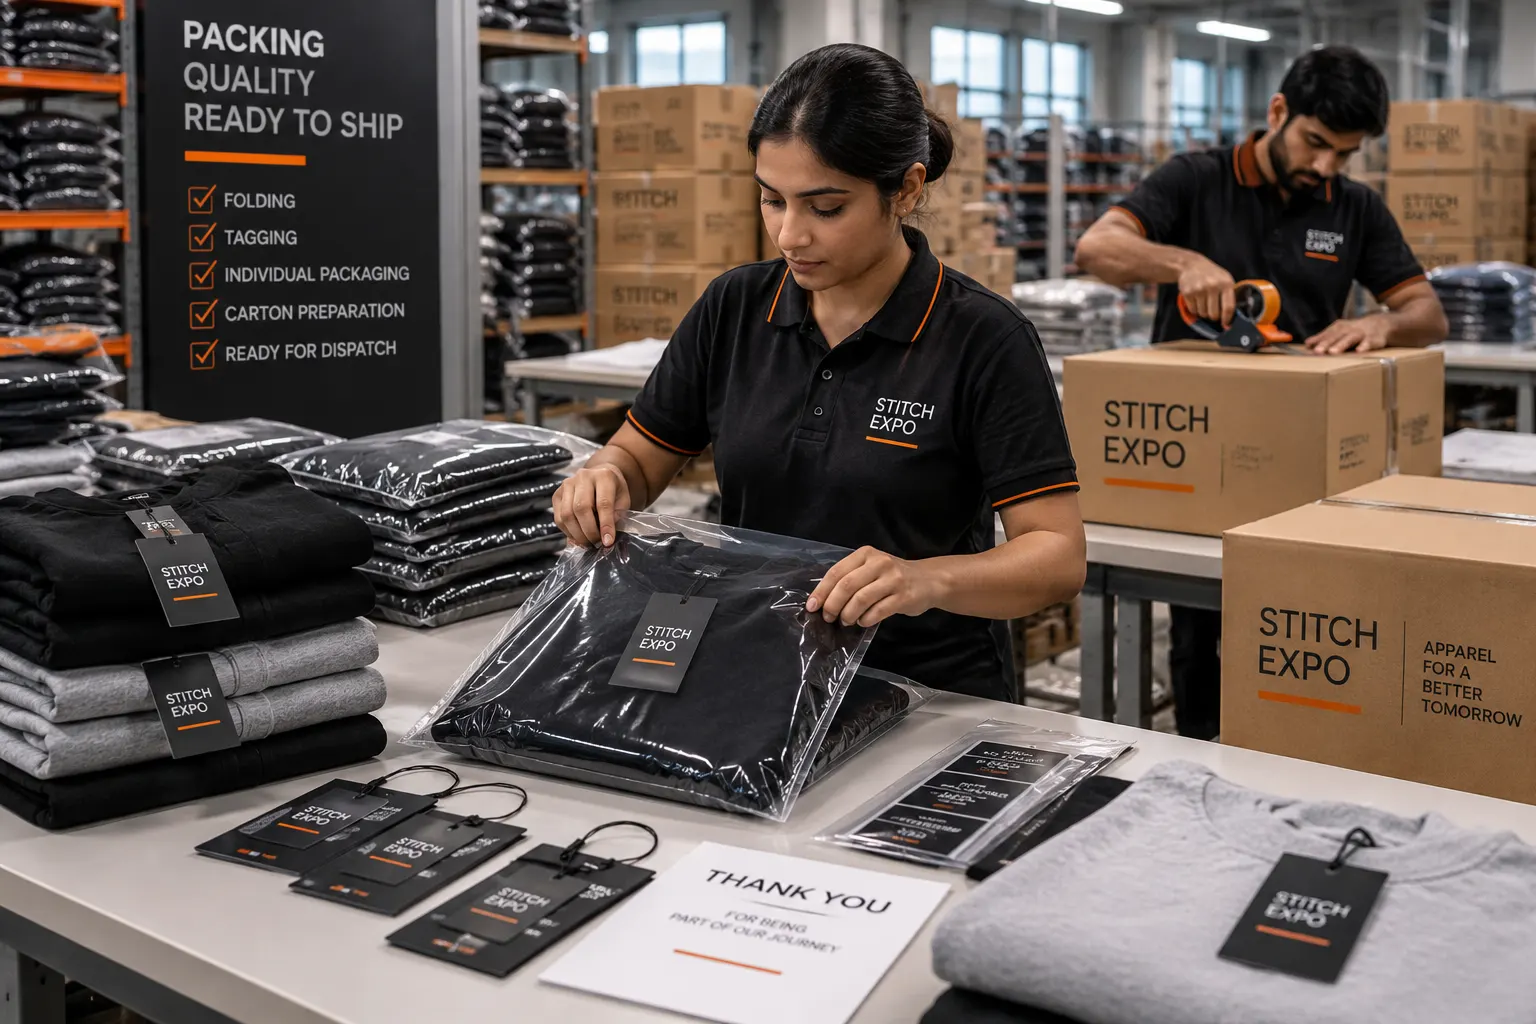
Approved garments are prepared for delivery according to the agreed packing specification. Products may be folded, tagged, placed in individual packaging and organised by size, colour, style or customer requirement.
Cartons are then packed and identified for handling, counting and dispatch. Packing requirements can vary substantially between direct-to-brand shipments, retail programmes and other commercial projects.
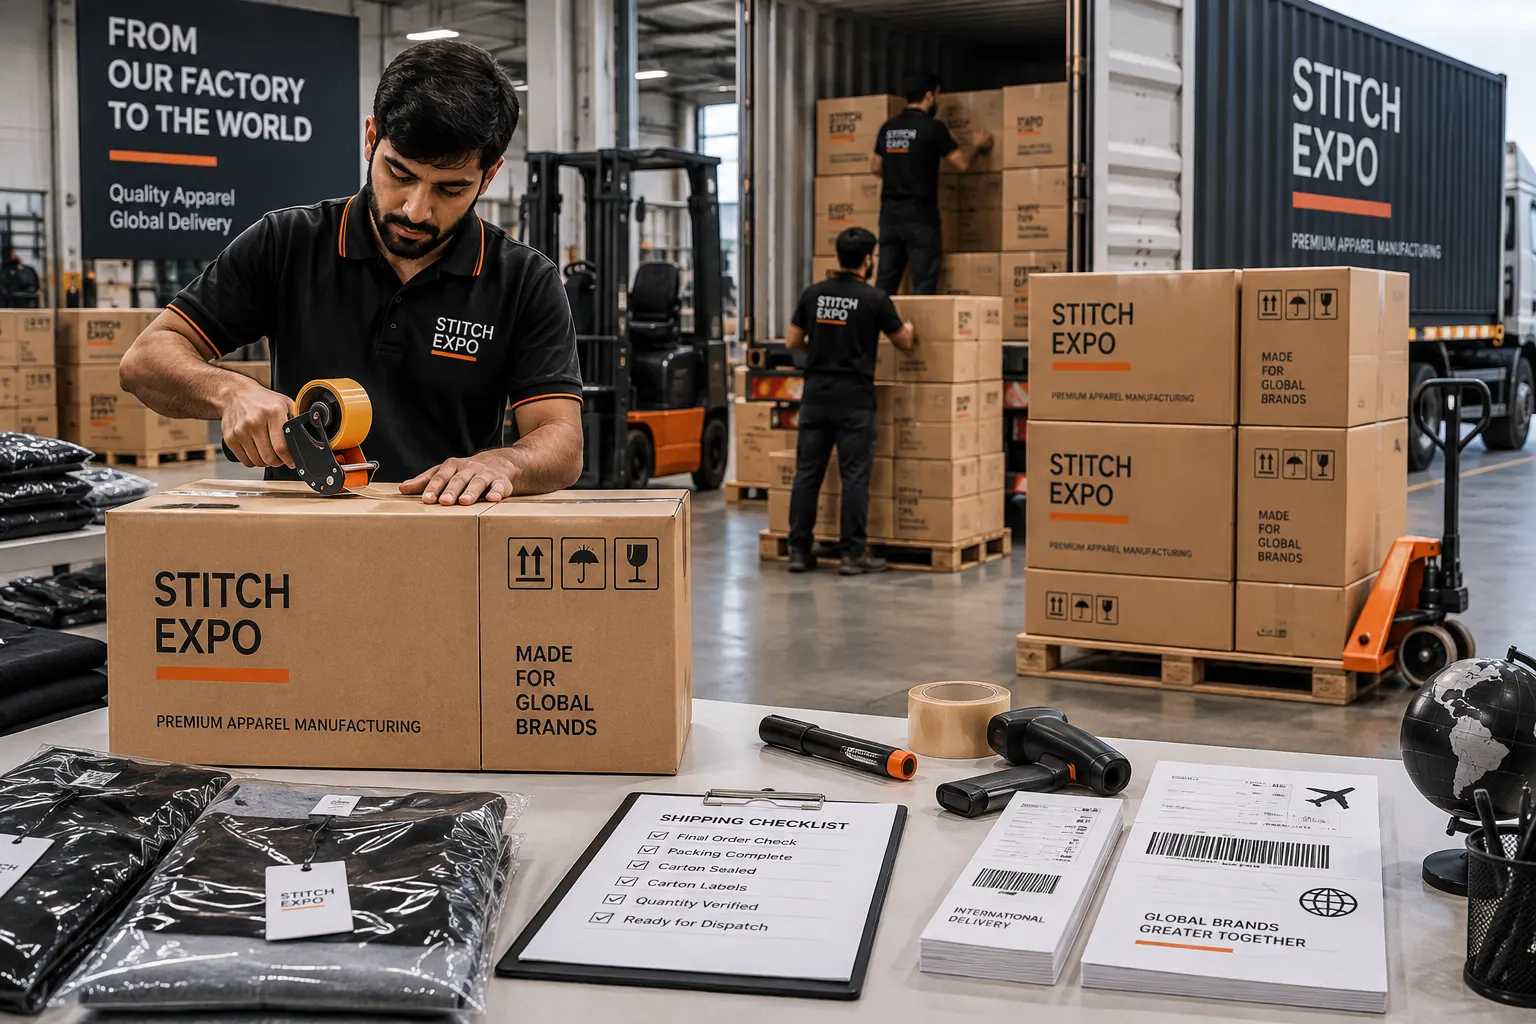
After packing and final order checks, the finished apparel is prepared for shipment. The transport method depends on destination, shipment size, urgency and agreed commercial terms.
Export documentation, shipment handover and tracking information form the final stage of the manufacturing workflow before the order reaches the buyer.
The overall framework remains similar, but the actual production route changes according to product construction, fabric and decoration.
Often use cotton jersey or fleece, rib components, screen printing or embroidery, sewing, finishing, QC and private labeling.
Cut & SewArtwork can be sublimated on polyester panels before sewing, so the decoration stage occurs earlier in the production flow.
SublimationDenim construction may be followed by washing, fading, abrasion or other finishing processes required to create the approved appearance.
Wash & FinishShell fabrics, linings, insulation, zippers and multi-panel construction can create a more complex assembly sequence.
Complex AssemblyA clear pre-production checklist reduces avoidable questions once materials and production operations begin.
Silhouette, fit and construction are defined.
Base size and size range are approved.
Composition, weight, colour and finish are confirmed.
Artwork files, dimensions, colours and placement are defined.
Branding components and attachment positions are confirmed.
Required sample comments are resolved before bulk.
Order quantity and colour breakdown are final.
Size breakdown is confirmed for production.
Folding, bags, tags and carton requirements are clear.
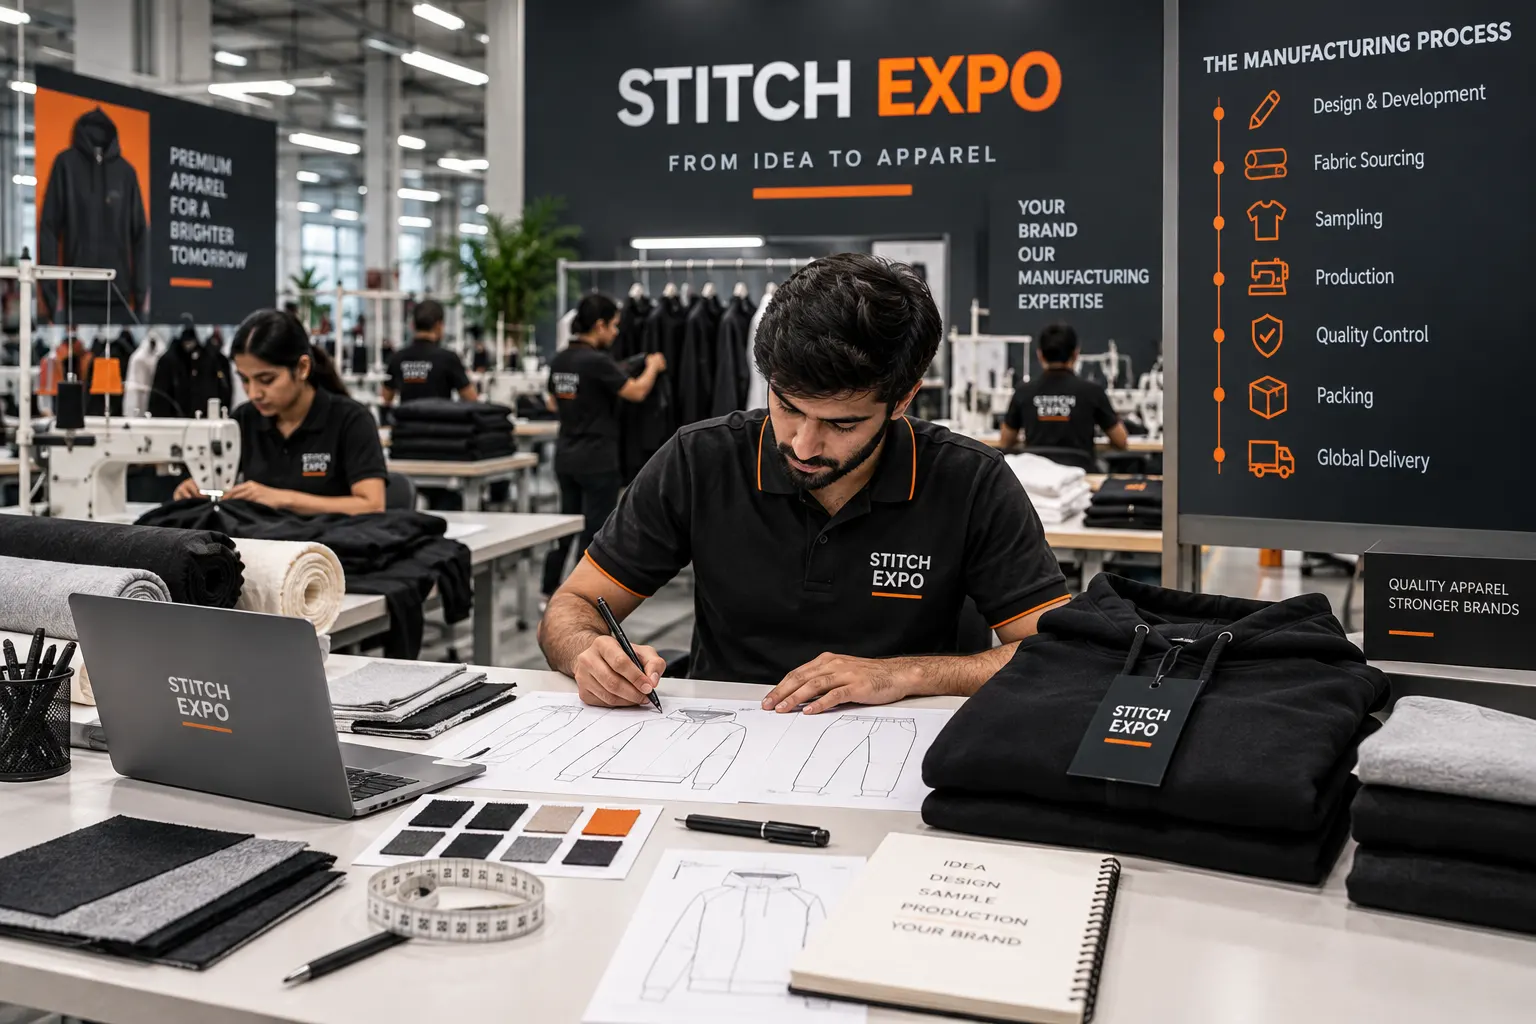
This guide explains the clothing manufacturing process as an industry workflow. Stitch Expo applies these production principles to custom apparel projects developed around the customer's own product requirements.
Projects can start from a detailed tech pack or from sketches, artwork, measurements and reference garments. The required fabric, construction, decoration, branding and production route are then reviewed according to the specific garment.
Use these links to connect this guide with your supporting manufacturing articles. This improves user navigation and helps build a stronger topical structure around apparel production.
Learn how garment patterns convert measurements and design intent into production-ready components.
Understand fabric spreading, marker alignment, cutting accuracy and production bundling.
Explore garment measurements, workmanship checks, tolerances, finishing and final inspection.
The clothing manufacturing process is the sequence of development and production stages used to turn a garment design into finished apparel. It can include design, tech packs, fabric sourcing, pattern making, sampling, grading, spreading, cutting, printing or embroidery, sewing, finishing, quality control, labels, packing and shipping.
The main stages can be grouped into pre-production, material preparation, garment production, quality control and final logistics. The exact operations within each group depend on the product being manufactured.
No. A T-shirt, hoodie, sublimated jersey, pair of jeans and technical jacket can follow different production routes because their fabrics, construction, decoration and finishing requirements are different.
A tech pack provides a technical reference for measurements, materials, construction, colours, artwork, labels and trims. It helps the factory interpret the product consistently during sampling and production.
A sample allows the product to be physically reviewed for fit, measurements, fabric, construction, decoration and branding. Required revisions can then be made before approved bulk manufacturing.
The timing depends on the decoration method and construction. Some artwork is applied to flat cut panels before sewing, while other printing or embroidery can be completed after garment assembly.
Quality checks can review measurements, seam workmanship, construction, print or embroidery placement, colour appearance, labels, trims, finishing and packing readiness.
Approved garments are prepared for branding and packing as required, organised into cartons and then released for shipment according to the agreed delivery method and destination.
Send Stitch Expo your tech pack, sketches, reference images, artwork or garment requirements for manufacturing review.