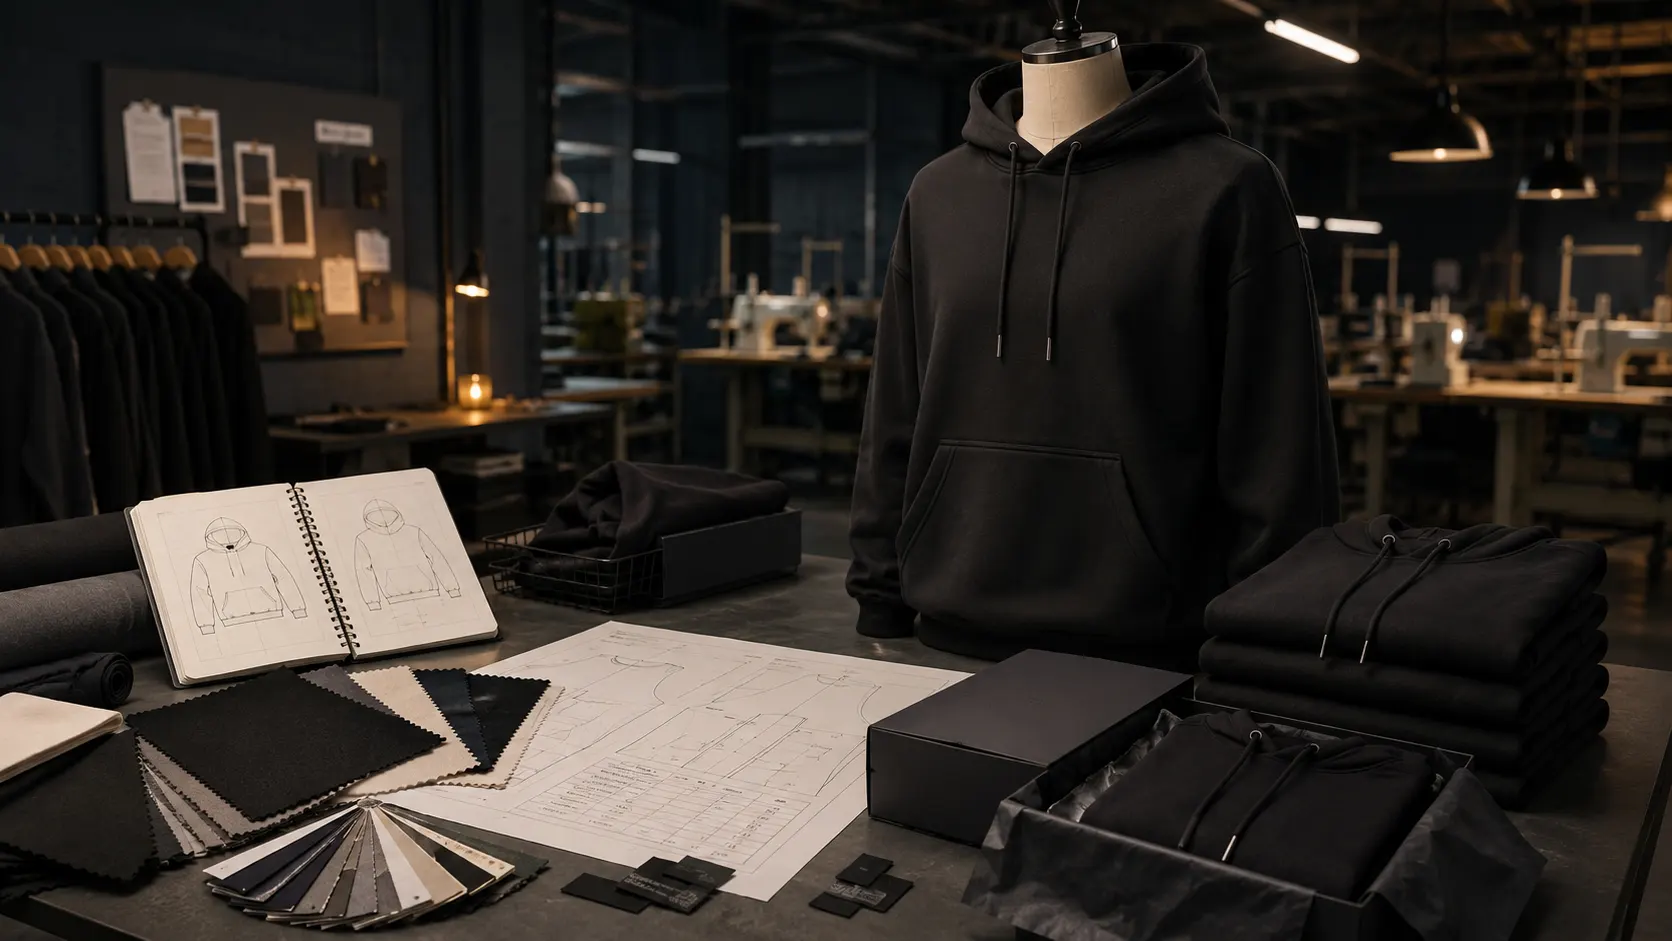
Starting a clothing brand is an exciting opportunity, but transforming an idea into a professionally manufactured product requires more than creating a logo and choosing a brand name.
Before customers can purchase your clothing, every product must go through design development, fabric selection, pattern making, sampling, fitting, decoration, bulk production, quality control and shipping. Decisions made during these stages directly affect the appearance, quality, cost and profitability of your collection.
The process becomes much easier when you begin with a focused product plan and provide your manufacturer with clear information.
This guide explains how to start a clothing brand and take your first product from an initial design idea to a finished production run.
1. Define the Purpose of Your Clothing Brand
Before designing your first garment, decide what your brand will represent and who will purchase its products.
Trying to make clothing for everyone usually results in an unclear product range. A successful starting point is a specific customer with a particular style, requirement or problem.
For example, your brand could focus on:
- Premium heavyweight streetwear
- Oversized and boxy everyday clothing
- Technical motorcycle apparel
- Sustainable casualwear
- Modest activewear
- Custom team uniforms
- Performance gym clothing
- Luxury embroidered tracksuits
- Workwear-inspired streetwear
- Knitted lifestyle garments
Your positioning will influence your product designs, fabrics, measurements, manufacturing costs, selling prices and marketing.
Questions to answer before starting
Ask yourself:
- Who is my target customer?
- What type of clothing do they currently purchase?
- What problem or preference will my products address?
- What makes my brand different from competing brands?
- What price will customers realistically pay?
- Will the brand focus on premium, mid-range or affordable products?
- Which country or market will I initially sell in?
- Will products be sold online, wholesale or through physical stores?
You do not need an enormous business plan before contacting a manufacturer. However, you should understand the type of product you want to create and the market position you want it to occupy.
2. Start With a Focused First Collection
A common mistake is launching too many products, colours and designs at the beginning.
Every additional style can require separate patterns, samples, fabrics, decorations, labels and production quantities. A large first collection can quickly increase development costs and leave a new brand with too much unsold inventory.
A focused collection is generally easier to develop, finance and market.
For example, a streetwear startup could begin with:
- One heavyweight oversized T-shirt
- One pullover hoodie
- One matching pair of sweatpants
- Two coordinated colourways
- One consistent brand label and packaging system
This provides enough variety to present a collection while keeping production manageable.
Choose a hero product
Your hero product should communicate the strongest part of your brand identity. It might be a specially washed hoodie, a technical jacket, a boxy T-shirt or an embroidered tracksuit.
Invest more development attention in this product instead of spreading your budget across many average designs.
3. Research the Market Without Copying Other Brands
Research products already available within your intended market.
Study:
- Popular garment silhouettes
- Fabric weights and compositions
- Common retail prices
- Customer reviews
- Size availability
- Construction quality
- Decoration techniques
- Packaging and branding
- Frequently reported product problems
Customer reviews can reveal useful opportunities. If buyers repeatedly complain that garments shrink, fits are inconsistent or fabrics feel too light, your brand may be able to offer a better solution.
Reference garments and images can help communicate your required direction to a manufacturer. However, references should be used to explain qualities such as fit, fabric or construction—not to reproduce another company’s protected artwork or branding.
Develop an original product identity instead of making an exact copy of an existing brand.
4. Create Your Clothing Designs
Your design must communicate both the appearance and physical construction of the garment.
A manufacturer needs more than a lifestyle mockup. The production team must understand the garment from the front, back, side and inside where necessary.
Your design information should include:
- Front and back garment views
- Overall silhouette and fit
- Panel construction
- Pocket type and position
- Hood or collar construction
- Ribbed areas
- Zippers, buttons and closures
- Seams and topstitching
- Embroidery or print placement
- Brand labels and patches
- Garment colours
- Special washing or finishing
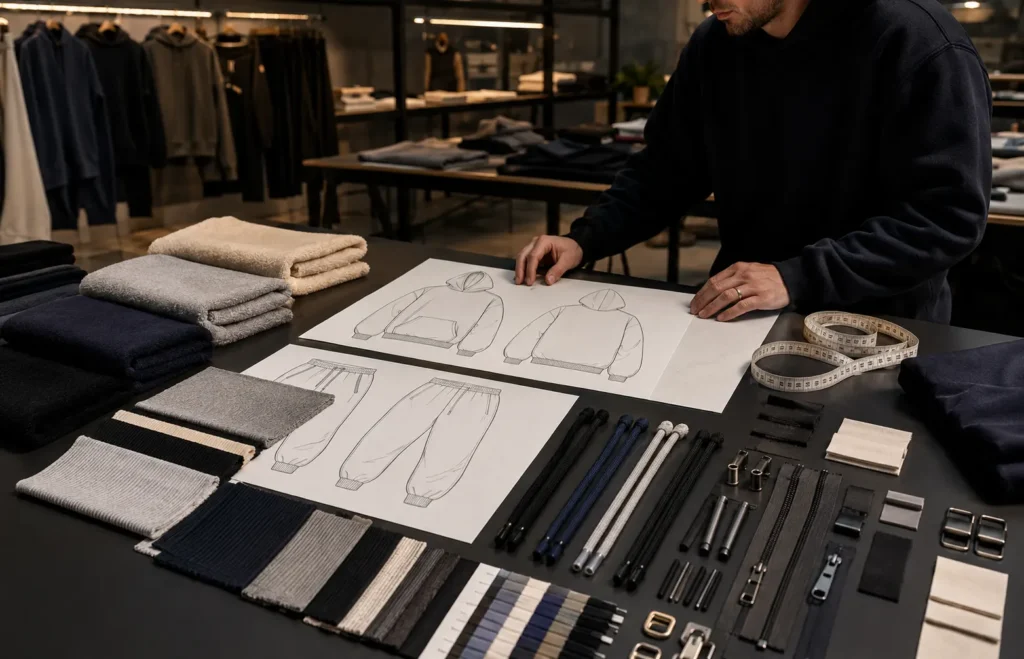
You can begin with sketches or reference images, but these should eventually be converted into controlled technical instructions.
5. Prepare a Clothing Tech Pack
A clothing tech pack is the main instruction document used to develop and manufacture a garment.
It converts a visual concept into measurable production information. A properly prepared tech pack can reduce misunderstandings, improve quotation accuracy and make sample feedback easier to manage.
What should a clothing tech pack include?
A complete tech pack normally contains:
- Style information
- Technical flat drawings
- Fabric specifications
- Bill of materials
- Colour references
- Measurement chart
- Construction details
- Artwork files and dimensions
- Label information
- Packaging requirements
- Sample comments
- Revision history
Style information
Give every garment a unique style name or number. Include the collection name, version number and revision date.
For example:
Collection: AW27
Style number: SE-H001
Product: Oversized Pullover Hoodie
Version: 03
Revision date: 28 August 2026
Version control is important because measurements, artwork and construction details may change during development.
Technical drawings
Include clean front and back drawings showing:
- Seam positions
- Pocket construction
- Panels
- Ribbing
- Zippers
- Drawcords
- Stitching
- Decoration placement
Add enlarged detail drawings when a construction feature cannot be understood from the main view.
Bill of materials
The bill of materials records everything required to manufacture the garment.
It may include:
- Main fabric
- Lining
- Rib fabric
- Interlining
- Thread
- Zippers
- Buttons
- Drawcords
- Eyelets
- Elastic
- Main brand label
- Size label
- Care label
- Hang tag
- Polybag
- Shipping carton
Each item should include its colour, dimensions, material and placement where applicable.
6. Choose the Right Fabric
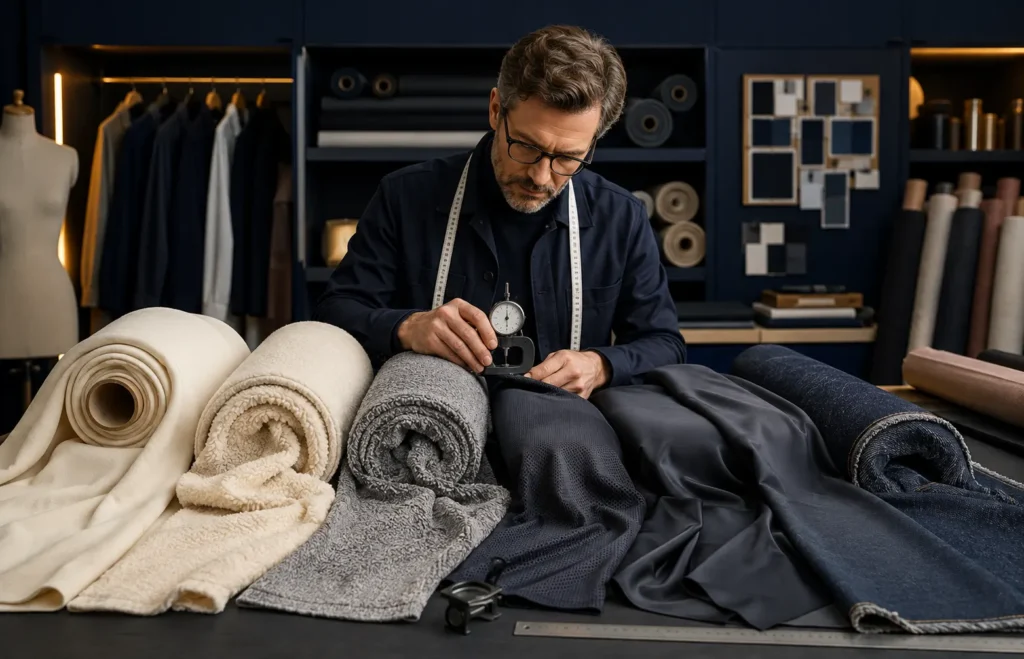
Fabric is one of the most important decisions in clothing manufacturing. It affects the garment’s appearance, comfort, durability, drape, shrinkage and production cost.
Do not select fabric based only on its GSM.
What does GSM mean?
GSM means grams per square metre. It describes the fabric’s weight, not its complete quality.
A higher GSM fabric is heavier, but it is not automatically better. Fibre quality, yarn, knitting structure, finishing and shrinkage control are also important.
Typical starting ranges include:
- Lightweight T-shirts: 160–190 GSM
- Standard T-shirts: 190–220 GSM
- Heavyweight T-shirts: 230–280 GSM
- French terry sweatshirts: 280–400 GSM
- Heavyweight fleece hoodies: 400–520 GSM
- Performance jerseys: weight varies according to construction
- Denim: usually specified in ounces rather than GSM
These are general ranges, not fixed rules.
Fabric composition
Common options include:
- 100% cotton
- Cotton and polyester blends
- Cotton and elastane
- Polyester performance fabric
- Nylon and elastane
- Acrylic knit
- Wool blends
- Cotton denim
- Polyester suitable for sublimation
The correct composition depends on the product.
A heavyweight streetwear hoodie may use cotton-rich brushed fleece, while sublimated sportswear generally requires polyester. Stretch activewear may use nylon or polyester blended with elastane.
Request physical fabric confirmation
Computer screens cannot accurately communicate fabric weight, stretch, hand feel or surface texture. Whenever possible, review fabric swatches or a physical sample before approving bulk production.
7. Define the Garment Fit and Measurements
Descriptions such as oversized, relaxed, slim, cropped and boxy are useful, but they are not precise manufacturing measurements.
Two people can interpret “oversized fit” differently. Your manufacturer needs a measurement chart showing the intended garment dimensions.
Important measurements may include:
- Chest width
- Body length
- Shoulder width
- Sleeve length
- Sleeve opening
- Bicep width
- Bottom opening
- Waist
- Hip
- Front rise
- Back rise
- Thigh
- Inseam
- Leg opening
The required points depend on the product.
Start with a base size
Most collections begin with one base size, such as Medium. The base size is developed and approved before the measurements are graded into the other sizes.
Your measurement chart should also state:
- How every measurement is taken
- Whether measurements are flat or around the body
- Whether elastic is relaxed or stretched
- Acceptable production tolerances
- Required measurements for every size
A reference garment can help establish your desired fit, but it should be measured accurately rather than described only as “similar to this garment.”
8. Select Printing, Embroidery and Branding
Decoration gives your garment its visible identity.
Common options include:
- Screen printing
- DTG printing
- DTF transfers
- Puff printing
- High-density printing
- Sublimation
- Flat embroidery
- 3D puff embroidery
- Chenille embroidery
- Appliqué
- Rhinestones
- Reflective transfers
- Silicone transfers
- Woven patches
- Rubber or silicone patches
- Leather patches
The best method depends on your artwork, garment fabric, quantity, required finish and budget.
Provide production-ready artwork
Where possible, provide vector artwork in formats such as:
- AI
- EPS
- SVG
- Production-ready PDF
High-resolution PNG files with transparent backgrounds may be acceptable for some printing processes, but vector files are usually preferable for logos, embroidery and screen-print separations.
Specify the physical dimensions
Do not state only that the design should be “large” or “small.”
Provide dimensions such as:
Front chest embroidery: 8 cm wide
Back print: 32 cm wide
Sleeve logo: 5 cm high
Leg embroidery: 10 cm wide
Also measure artwork placement from stable garment reference points.
Consider the limitations of each method
Very small lettering may not embroider clearly. Large solid DTF transfers may produce a heavier hand feel. Detailed photographic designs may not be suitable for traditional embroidery.
A physical decoration test can reveal issues that are not visible in a digital mockup.
9. Develop Your Private Labels and Packaging
Private-label branding makes the product identifiable as part of your clothing brand.
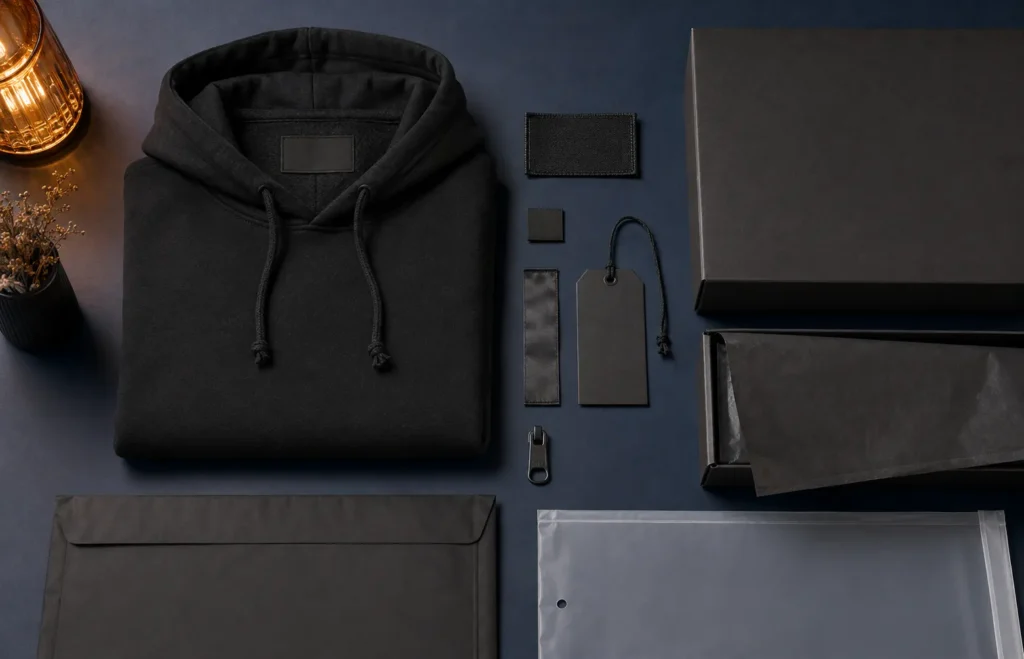
Common branding components include:
- Woven main labels
- Printed satin labels
- Size labels
- Care and composition labels
- Inside neck printing
- Woven patches
- Embroidered patches
- Rubber or silicone patches
- Custom zipper pullers
- Hang tags
- Branded polybags
- Barcode stickers
- Custom cartons
Main brand label
The main label usually displays the brand name or logo. It can be placed at the inside back neck, waistband or another suitable position.
Woven labels are popular because they offer a professional finish and can reproduce detailed branding.
Care and composition label
The care label may need to include:
- Fibre composition
- Washing instructions
- Country of origin
- Size
- Responsible business information
- Product identification
Labelling requirements depend on where the product will be sold. Confirm the applicable legal requirements for your destination market instead of assuming one label format is accepted everywhere.
Packaging
Your packaging should protect the garment during shipping and storage.
Possible options include:
- Clear polybags
- Recycled or alternative-material bags
- Zip-lock bags
- Tissue wrapping
- Printed mailer bags
- Branded boxes
- Size stickers
- Barcode labels
Highly customised packaging can have a separate MOQ, so confirm this before finalising your budget.
10. Find the Right Clothing Manufacturer
The cheapest manufacturer is not automatically the best option.
A suitable manufacturing partner should understand your product category, materials, fit, decoration and required quantity.
Evaluate the manufacturer’s capabilities
Ask whether the manufacturer can produce your required:
- Garment category
- Fabric composition and weight
- Custom pattern
- Measurements and grading
- Printing or embroidery
- Washing and finishing
- Labels and packaging
- Order quantity
- Quality level
- Delivery destination
A sports-uniform manufacturer may not be the right partner for a tailored wool coat. Likewise, a factory specialising in simple blank T-shirts may not be suitable for a heavily panelled technical garment.
Provide enough information when requesting a quotation
Send:
- Product name
- Technical pack or reference images
- Required fabric and GSM
- Quantity per style and colour
- Size breakdown
- Artwork
- Decoration requirements
- Labels and packaging
- Delivery country
- Required completion date
If important details are missing, a supplier may only be able to provide an estimated price.
Questions to ask a clothing manufacturer
Before paying for development or production, ask:
- What is your MOQ per style and colour?
- How much does the sample cost?
- What is included in the sample price?
- How long will sample development take?
- How long will bulk production take?
- Are labels and packaging included?
- Which shipping services are available?
- Are import duties and taxes included?
- What are the payment terms?
- How are bulk products inspected?
- What happens if products do not match the approved specification?
- Can I approve a pre-production sample or first completed garment?
Clear written answers help both sides understand the project before work begins.
11. Understand Clothing Manufacturing MOQs
MOQ means minimum order quantity.
A factory sets MOQs because fabric purchasing, pattern preparation, cutting, printing, embroidery and production-line setup have minimum practical costs.
The MOQ may apply:
- Per design
- Per product
- Per colour
- Per fabric
- Per artwork
- Across the total order
For example, a stated MOQ of 30 pieces could mean 30 pieces of one design in one colour—not 30 pieces divided across multiple designs and colours.
Ask exactly how the manufacturer calculates its MOQ.
Should you always choose the lowest MOQ?
Not necessarily.
A low MOQ reduces inventory risk, but the cost per garment may be higher because development and setup expenses are spread across fewer pieces.
A larger quantity can lower the unit cost, but ordering more inventory than you can sell creates a bigger financial risk.
The correct quantity should balance:
- Expected sales
- Unit cost
- Available budget
- Size breakdown
- Storage
- Marketing plan
- Reorder lead time
Stitch Expo commonly reviews trial orders starting at approximately 20–30 pieces per design. Exact feasibility depends on the fabric, construction, colours, decoration and trims.
12. Calculate Your Complete Clothing Brand Budget
Your budget should include much more than the bulk unit price.
Product-development expenses
These may include:
- Technical design
- Tech pack preparation
- Pattern development
- Fabric sourcing
- Sample production
- Sample shipping
- Pattern corrections
- Additional samples
- Artwork setup
- Embroidery digitising
- Print development
Bulk-production expenses
These may include:
- Main fabric
- Rib and lining
- Trims
- Cutting
- Sewing
- Printing
- Embroidery
- Washing
- Labels
- Packaging
- Quality control
- Cartons
Logistics and business expenses
Also account for:
- International freight
- Customs duties
- Taxes
- Brokerage charges
- Local delivery
- Payment fees
- Product photography
- Website development
- Marketing
- Warehousing
- Returns
- Replacements
- Contingency
Calculate landed cost
Landed cost is the total amount required to bring one product to its final destination.
A simplified calculation is:
Bulk production cost
+ Labels and packaging
+ Freight
+ Duty and taxes
+ Brokerage and local delivery
= Total landed cost
Divide the total landed cost by the number of sellable garments to estimate the landed cost per piece.
Do not set the selling price using only the manufacturer’s unit price.
13. Order and Review a Clothing Sample
The sample is one of the most important stages of clothing development.
It allows you to physically review the design before approving bulk production.
What to inspect on the sample
Review:
- Overall appearance
- Garment measurements
- Fit
- Fabric weight and hand feel
- Colour
- Shrinkage
- Stitching
- Seam strength
- Pocket position
- Zipper quality
- Rib recovery
- Print quality
- Embroidery clarity
- Artwork size
- Artwork placement
- Label position
- Packaging
- Finishing
Try the sample on the intended body size or a suitable fit model.
Provide clear sample feedback
Avoid comments such as:
- Make it slightly bigger
- Move the logo a little higher
- Make the fabric better
- Change the fit
Instead, provide measurable instructions:
Increase half-chest from 23 inches to 24 inches.
Reduce body length by 1 inch.
Move the front embroidery 2 inches higher.
Increase the drawcord width from 8 mm to 12 mm.
Change the main fabric from 350 GSM to 450 GSM brushed fleece.
Use marked photographs and numbered comments. This makes revisions easier to understand and record.
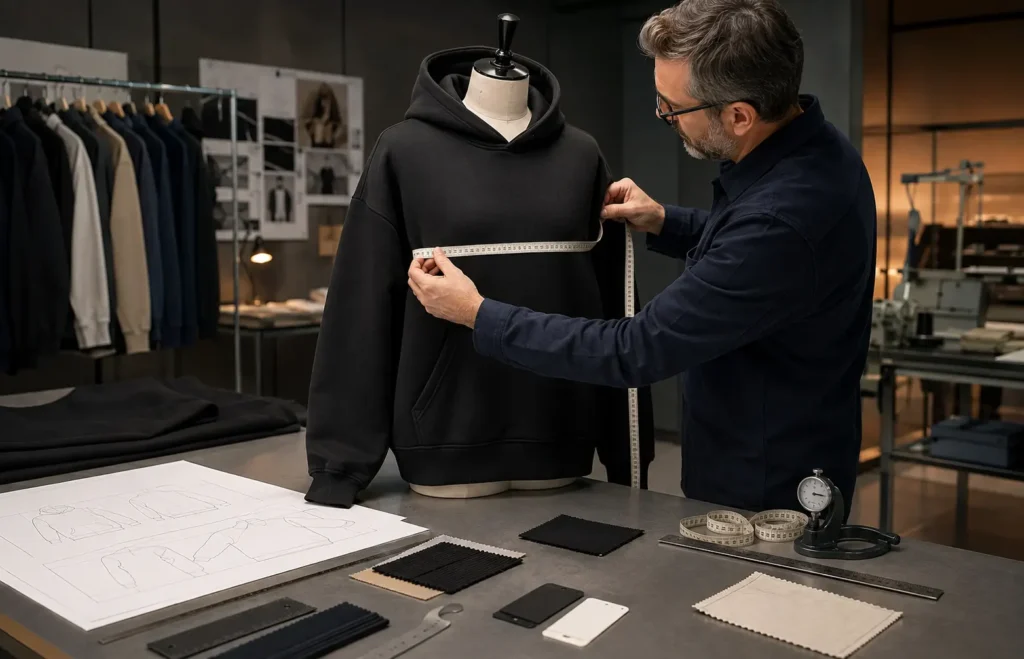
14. Approve a Pre-Production Sample
After the development sample has been corrected, the manufacturer may prepare a pre-production sample using the intended bulk materials, measurements, artwork and construction.
This sample should represent the product that will enter bulk production.
Before approval, confirm:
- Correct fabric
- Approved colour
- Final measurements
- Grading
- Construction
- Artwork
- Decoration position
- Labels
- Trims
- Packaging
- Washing or finishing
Your approval should be documented in writing.
For a complicated or first-time order, ask the manufacturer to show the first completed bulk garment before the entire order continues. This can help identify a significant production misunderstanding at an earlier stage.
15. Confirm the Purchase Order and Production Details
Before bulk manufacturing begins, both parties should have the same confirmed information.
The purchase order or production confirmation should include:
- Product style
- Total quantity
- Quantity per colour
- Size breakdown
- Unit price
- Sample or development charges
- Labels and packaging
- Delivery address
- Shipping method
- Production timeline
- Payment terms
- Approved specification version
Do not rely on scattered messages when one controlled document can confirm the order.
Common production-payment structures
Payment terms vary by factory and project. Common arrangements include:
- Full advance payment for samples
- Deposit before bulk production
- Remaining balance before shipment
- Agreed staged payments for large projects
Review the terms carefully and keep transaction records.
16. Understand the Bulk Clothing Production Process
Once the order is approved, the manufacturer begins bulk production.
A typical custom clothing production process may include:
- Final material sourcing
- Fabric inspection
- Fabric relaxation
- Pattern confirmation
- Marker planning
- Fabric cutting
- Printing or embroidery
- Garment sewing
- Washing or finishing
- Thread trimming
- Pressing
- Measurement inspection
- Final quality control
- Folding and packaging
- Carton packing
- Shipping
The exact order varies by product. For example, sublimated garments are printed before sewing, while some embroidery is completed on cut panels before garment assembly.
Request useful production updates
Meaningful checkpoints may include:
- Fabric received
- Colour or lab dip approved
- Cutting completed
- Print or embroidery test completed
- First production piece completed
- Sewing in progress
- Final inspection completed
- Order packed
- Shipment collected
Frequent messages do not necessarily provide better control. Updates should be connected to important production stages.
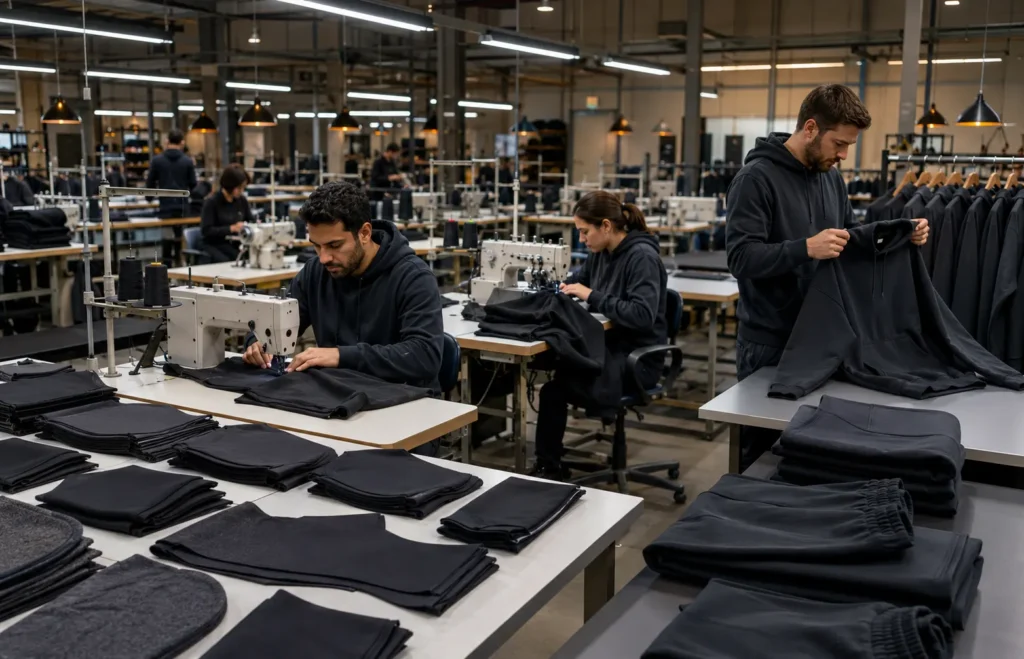
17. Inspect the Finished Production
Quality control should compare finished garments with the approved sample and specifications.
Inspection may include:
Measurement inspection
Check critical measurements against the approved size chart and tolerances.
Fabric and colour inspection
Confirm that the fabric, colour and finish are consistent with the approved standard.
Construction inspection
Check:
- Seams
- Stitch density
- Loose threads
- Skipped stitches
- Reinforcement
- Zippers
- Buttons
- Pockets
- Ribbing
- Drawcords
- Hemming
Decoration inspection
Review:
- Artwork dimensions
- Position
- Colour
- Print curing
- Transfer adhesion
- Embroidery density
- Thread trimming
- Puckering
- Patch attachment
Branding and packaging inspection
Confirm:
- Main labels
- Size labels
- Care labels
- Hang tags
- Size stickers
- Barcodes
- Folding
- Polybags
- Carton quantities
Inspection reduces risk, but no manufacturing process can reasonably promise that every large production run will have absolutely zero variation. This is why agreed tolerances and a clear defect-resolution process are important.
18. Arrange Shipping and Understand Import Costs
International orders can be shipped using:
- DHL
- FedEx
- UPS
- Air cargo
- Sea freight
- DDP services where available
The best method depends on order weight, carton volume, destination, deadline and budget.
Express courier shipping
Courier shipping is generally faster and provides door-to-door tracking, but it can be expensive for heavy orders.
Air cargo
Air cargo may be suitable for larger urgent shipments, although customs clearance and local delivery may need separate handling.
Sea freight
Sea freight can reduce transportation costs for large orders, but transit and customs processing take longer.
Ask what the shipping price includes
Confirm whether the quotation includes:
- Export packing
- Courier or freight cost
- Customs clearance
- Import duty
- Sales tax or VAT
- Brokerage
- Local delivery
A shipping quotation that excludes duty and taxes is not the same as a delivered-duty-paid quotation.
19. Prepare Your Clothing Brand Launch
Do not wait until production is complete before planning the launch.
While the order is being manufactured, prepare:
- E-commerce website
- Product descriptions
- Size guides
- Product photography
- Campaign images
- Social-media content
- Email marketing
- Packaging workflow
- Inventory system
- Return policy
- Customer-service process
- Launch calendar
Avoid announcing a guaranteed delivery date before the order has completed quality control and entered a confirmed shipping process.
Use accurate product descriptions
Your product page should clearly describe:
- Fabric composition
- Fabric weight
- Fit
- Construction
- Decoration
- Care instructions
- Model size
- Garment measurements
- Country of manufacture where required
Accurate descriptions reduce customer confusion and returns.
20. Review the First Production Run
After launching, collect information that can improve the next order.
Review:
- Best-selling sizes
- Most popular colours
- Customer fit comments
- Product returns
- Fabric performance
- Print or embroidery performance
- Packaging issues
- Delivery complaints
- Actual profit margin
- Unsold stock
- Reorder demand
Do not automatically reproduce the same size breakdown. Use real sales data to plan the reorder.
Your first production run should create both inventory and information. The lessons from that order can help improve the next collection.
Common Mistakes to Avoid When Starting a Clothing Brand
Launching too many products
Too many styles and colours increase development cost, MOQ requirements and inventory risk.
Choosing a manufacturer based only on price
The lowest quotation may use different fabric, construction, labels, packaging or shipping terms.
Approving bulk production without a physical sample
Digital mockups cannot confirm fabric, measurements, stitching, print hand feel or embroidery clarity.
Giving unclear feedback
Terms such as “better quality” or “more oversized” are not measurable production instructions.
Ignoring shipping and import expenses
Freight, duty, taxes and brokerage can significantly affect the final landed cost.
Copying an existing brand
Reference products can communicate fit or construction, but your artwork and brand identity should be original.
Rushing the manufacturing process
Unrealistic deadlines encourage rushed approvals and leave no time for corrections or shipping delays.
Ordering quantities based only on a lower unit price
A lower price does not help if a large amount of inventory remains unsold.
Frequently Asked Questions
How much money do I need to start a clothing brand?
There is no universal amount. Your required budget depends on the number of products, sample development, fabrics, production quantities, decoration, labels, packaging, freight, import charges and marketing.
Calculate the complete landed cost and operating expenses before placing a bulk order.
Can I start a clothing brand without a tech pack?
You can begin a manufacturing discussion with reference images, sketches and written requirements. However, important details should be converted into an approved technical specification before bulk production.
How many pieces should I order for my first collection?
The correct quantity depends on your manufacturer’s MOQ, available budget, expected sales, size breakdown and storage capacity.
A controlled trial order is usually safer than ordering a large quantity only to obtain a lower unit price.
How long does clothing manufacturing take?
The timeline depends on product complexity, fabric availability, sample revisions, quantity, decoration and shipping.
Stitch Expo’s typical sample development takes approximately 7–11 working days, followed by shipping. Many standard bulk orders take approximately 12–20 working days after approvals, while large or complex collections may require more time.
These are typical estimates, not guarantees for every project.
Should I produce a sample before bulk production?
Yes. A physical sample allows you to inspect fabric, fit, measurements, construction, decoration and branding before committing to the complete order.
What files should I send to a clothing manufacturer?
Send:
- Tech pack
- Front and back designs
- Measurement chart
- Fabric requirements
- Vector artwork
- Colour references
- Label artwork
- Packaging requirements
- Quantity breakdown
- Delivery destination
- Required date
Can a clothing manufacturer help develop my design?
Some manufacturers provide fabric sourcing, pattern development, technical advice, artwork preparation and sample development. Confirm the exact services and charges before beginning.
Is private label the same as custom cut-and-sew manufacturing?
Not always.
Private label can involve adding your branding to an existing or modified product. Custom cut-and-sew manufacturing develops the garment according to your measurements, fabric, pattern and construction requirements.
Start Your Clothing Brand With Stitch Expo
Stitch Expo provides custom apparel manufacturing for emerging and established clothing brands.
Our manufacturing capabilities include:
- Streetwear
- T-shirts
- Hoodies and tracksuits
- Sportswear
- Activewear
- Jackets and outerwear
- Denim
- Knitwear
- Motorcycle apparel
- Caps
- Bags and accessories
We can help develop:
- Custom garment patterns
- Fabrics and GSM options
- Printing and embroidery
- Woven labels
- Care labels
- Hang tags
- Custom patches
- Packaging
- Samples
- Bulk production
To request a manufacturing quotation, send us:
- Your tech pack or reference images
- Required quantity per design and colour
- Fabric composition and GSM
- Printing or embroidery details
- Required sizes
- Delivery country
- Target completion date
Ready to Turn Your Clothing Idea Into a Manufactured Product?
Share your designs, specifications and required quantities with Stitch Expo. Our team will review your product and explain the recommended sampling and manufacturing process.